



Concrete Basketball Court Installation
Residential half courts, full courts, HOA amenity courts, and driveway-conversion basketball pads across North Carolina — engineered slab, 5-inch minimum thickness, hoop-pad reinforcement, and a written spec before the pour. Zero deposit, licensed and insured, pay-on-completion.
Get your free quote
We respond in less than 2 hours.
Recent Basketball Court Projects
Real customer jobs we've poured. Swipe through and picture yours next.
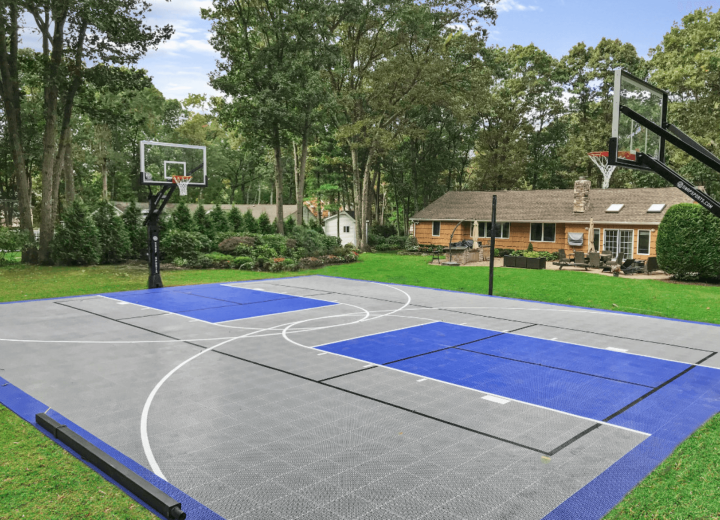
Basketball Court
Recent Job
Real Projects We've Completed
A cross-section of our real project work — driveways, patios, porches, pool decks. Every pair below is a real Local Concrete Contractor install.
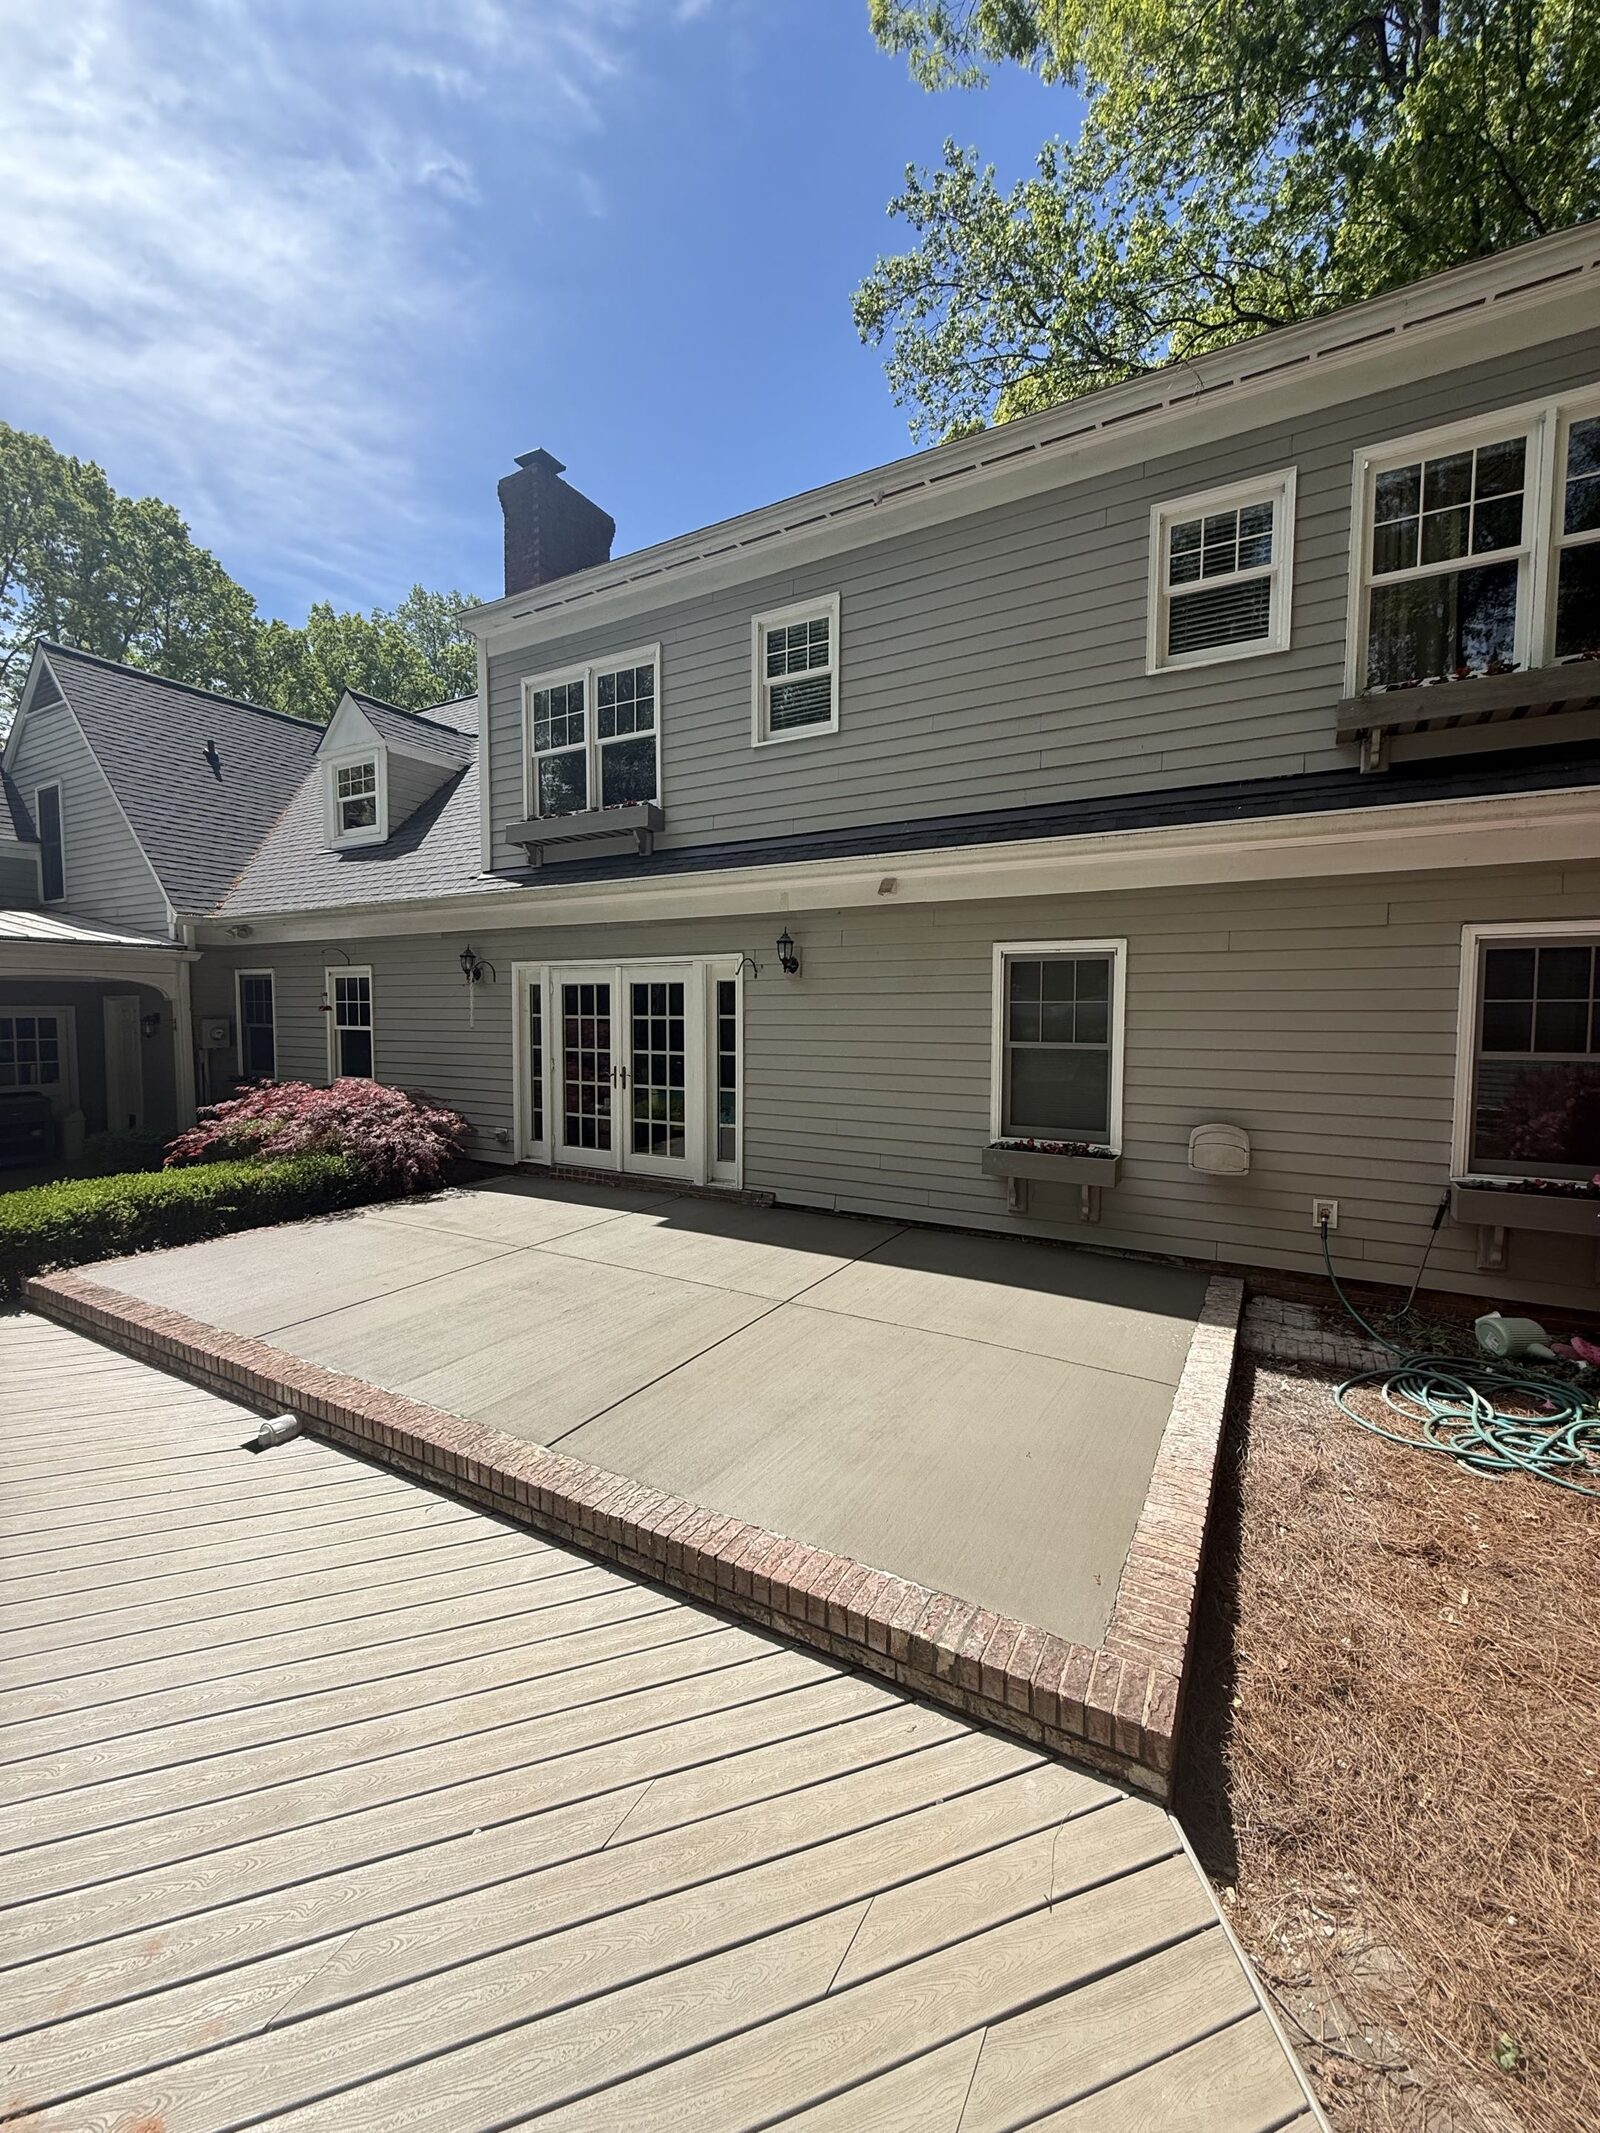

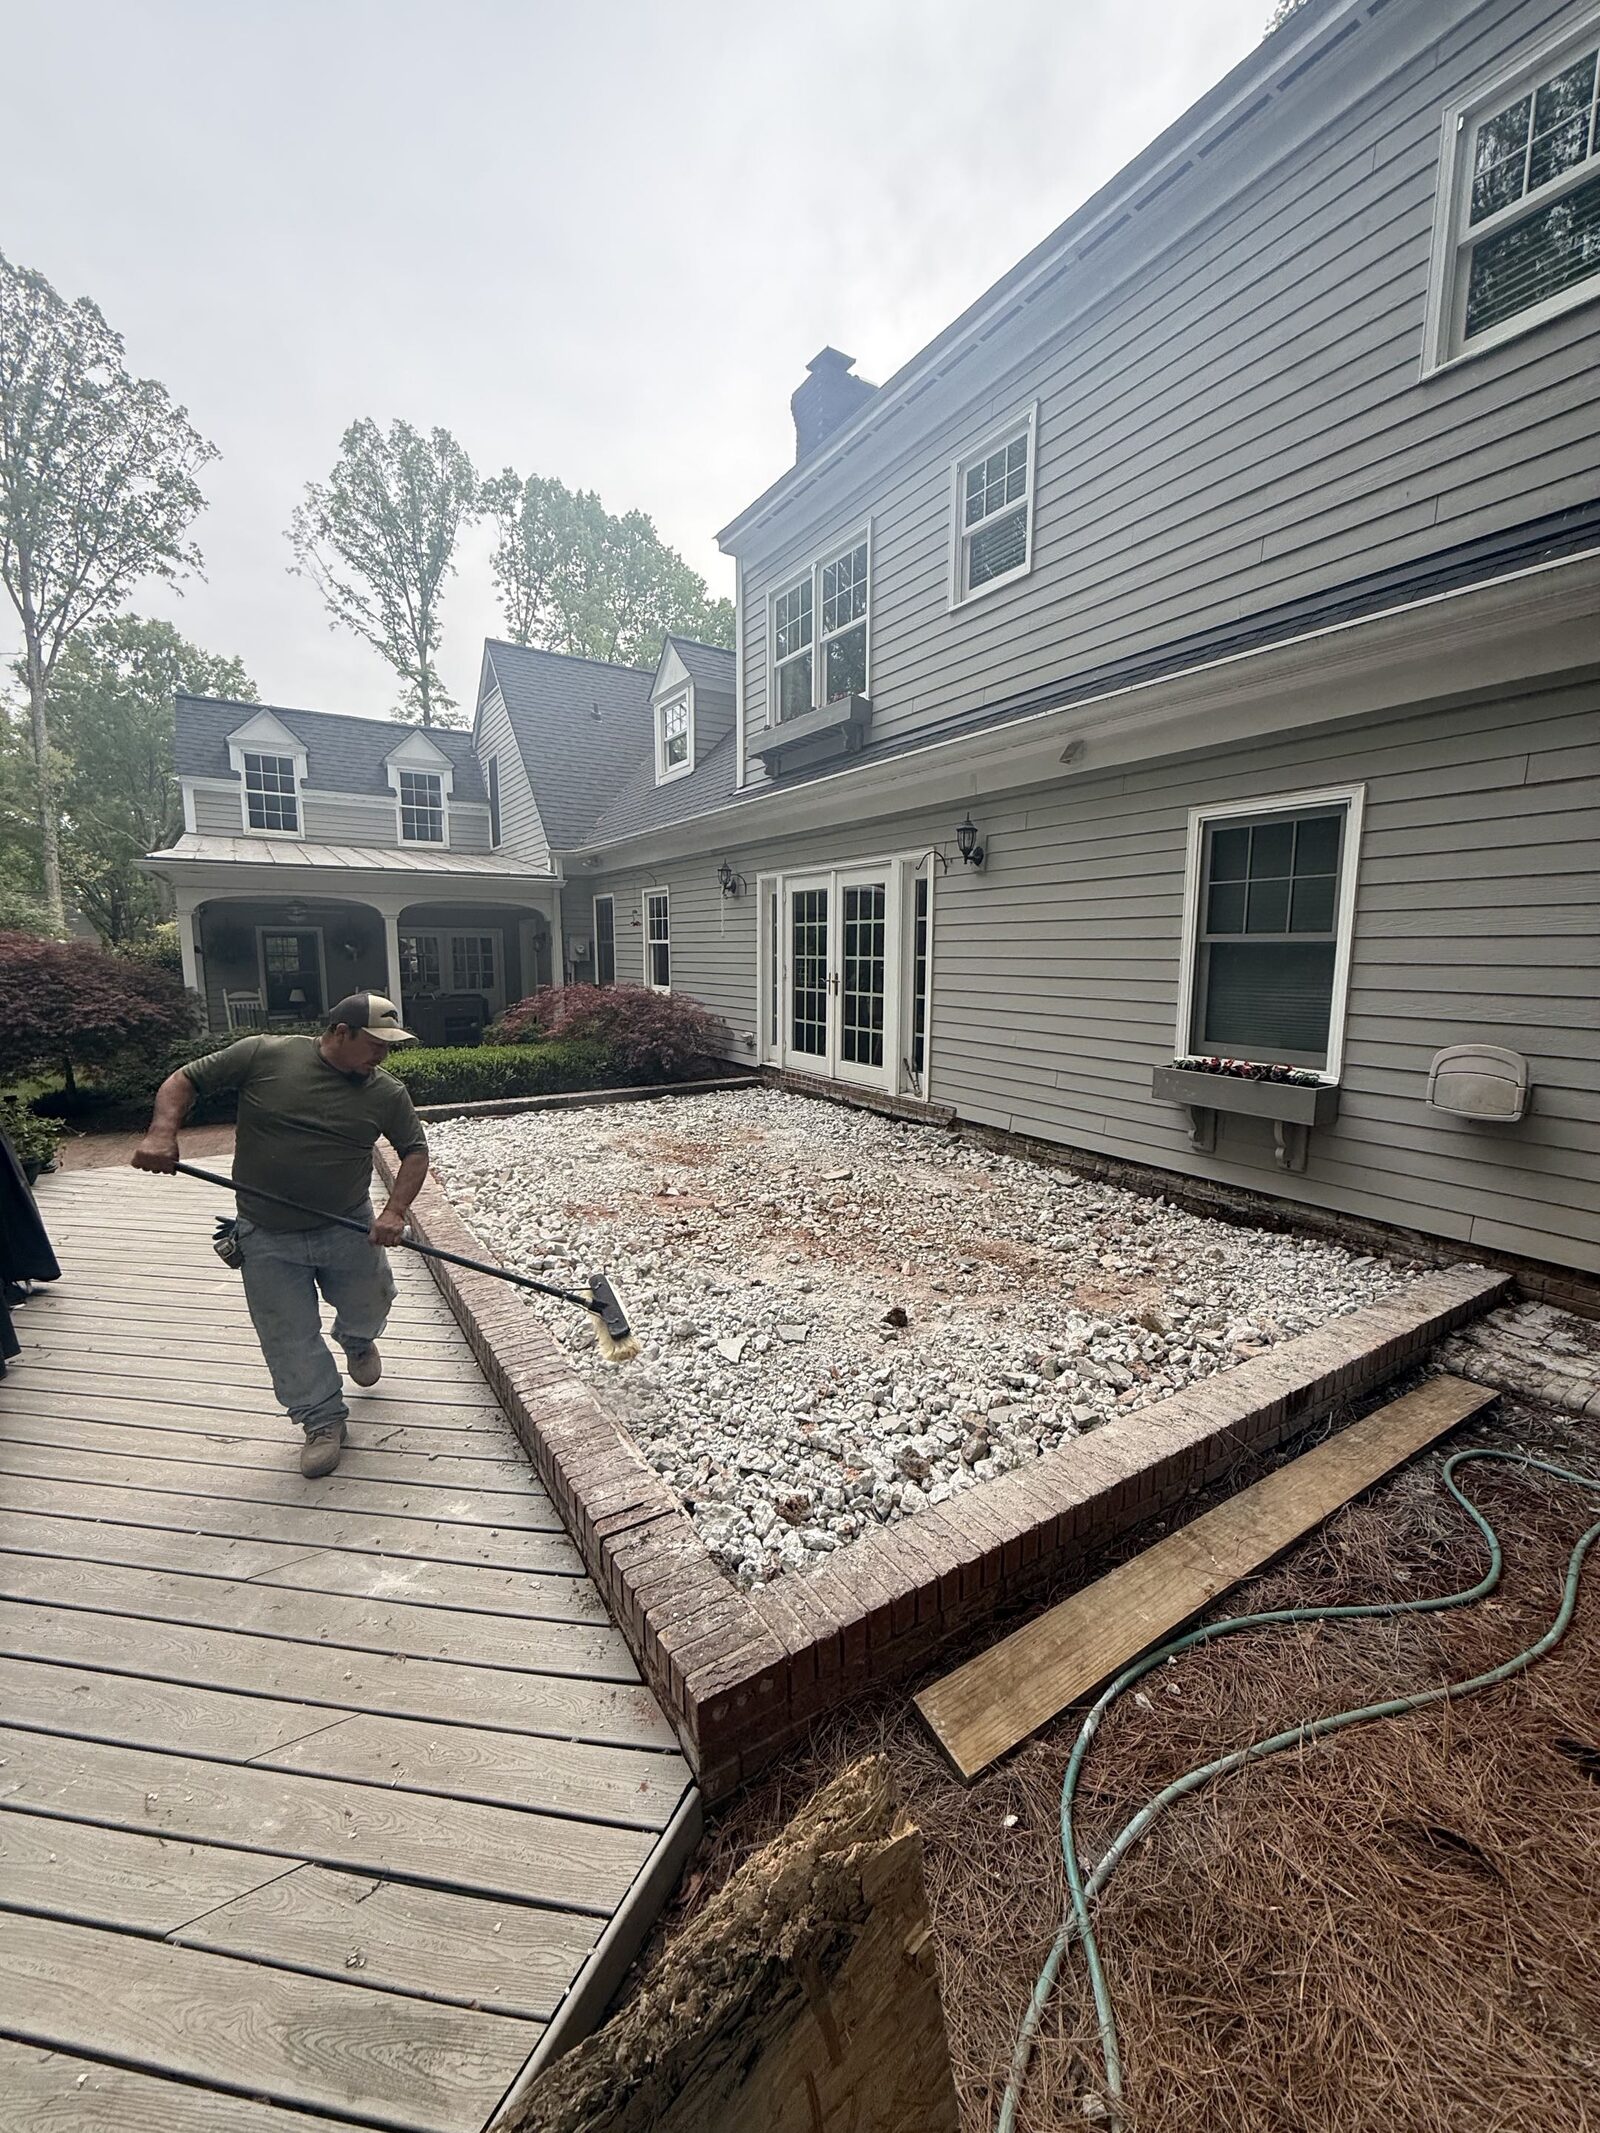
Backyard Patio
Full tear-out, new pour with brick-border detail
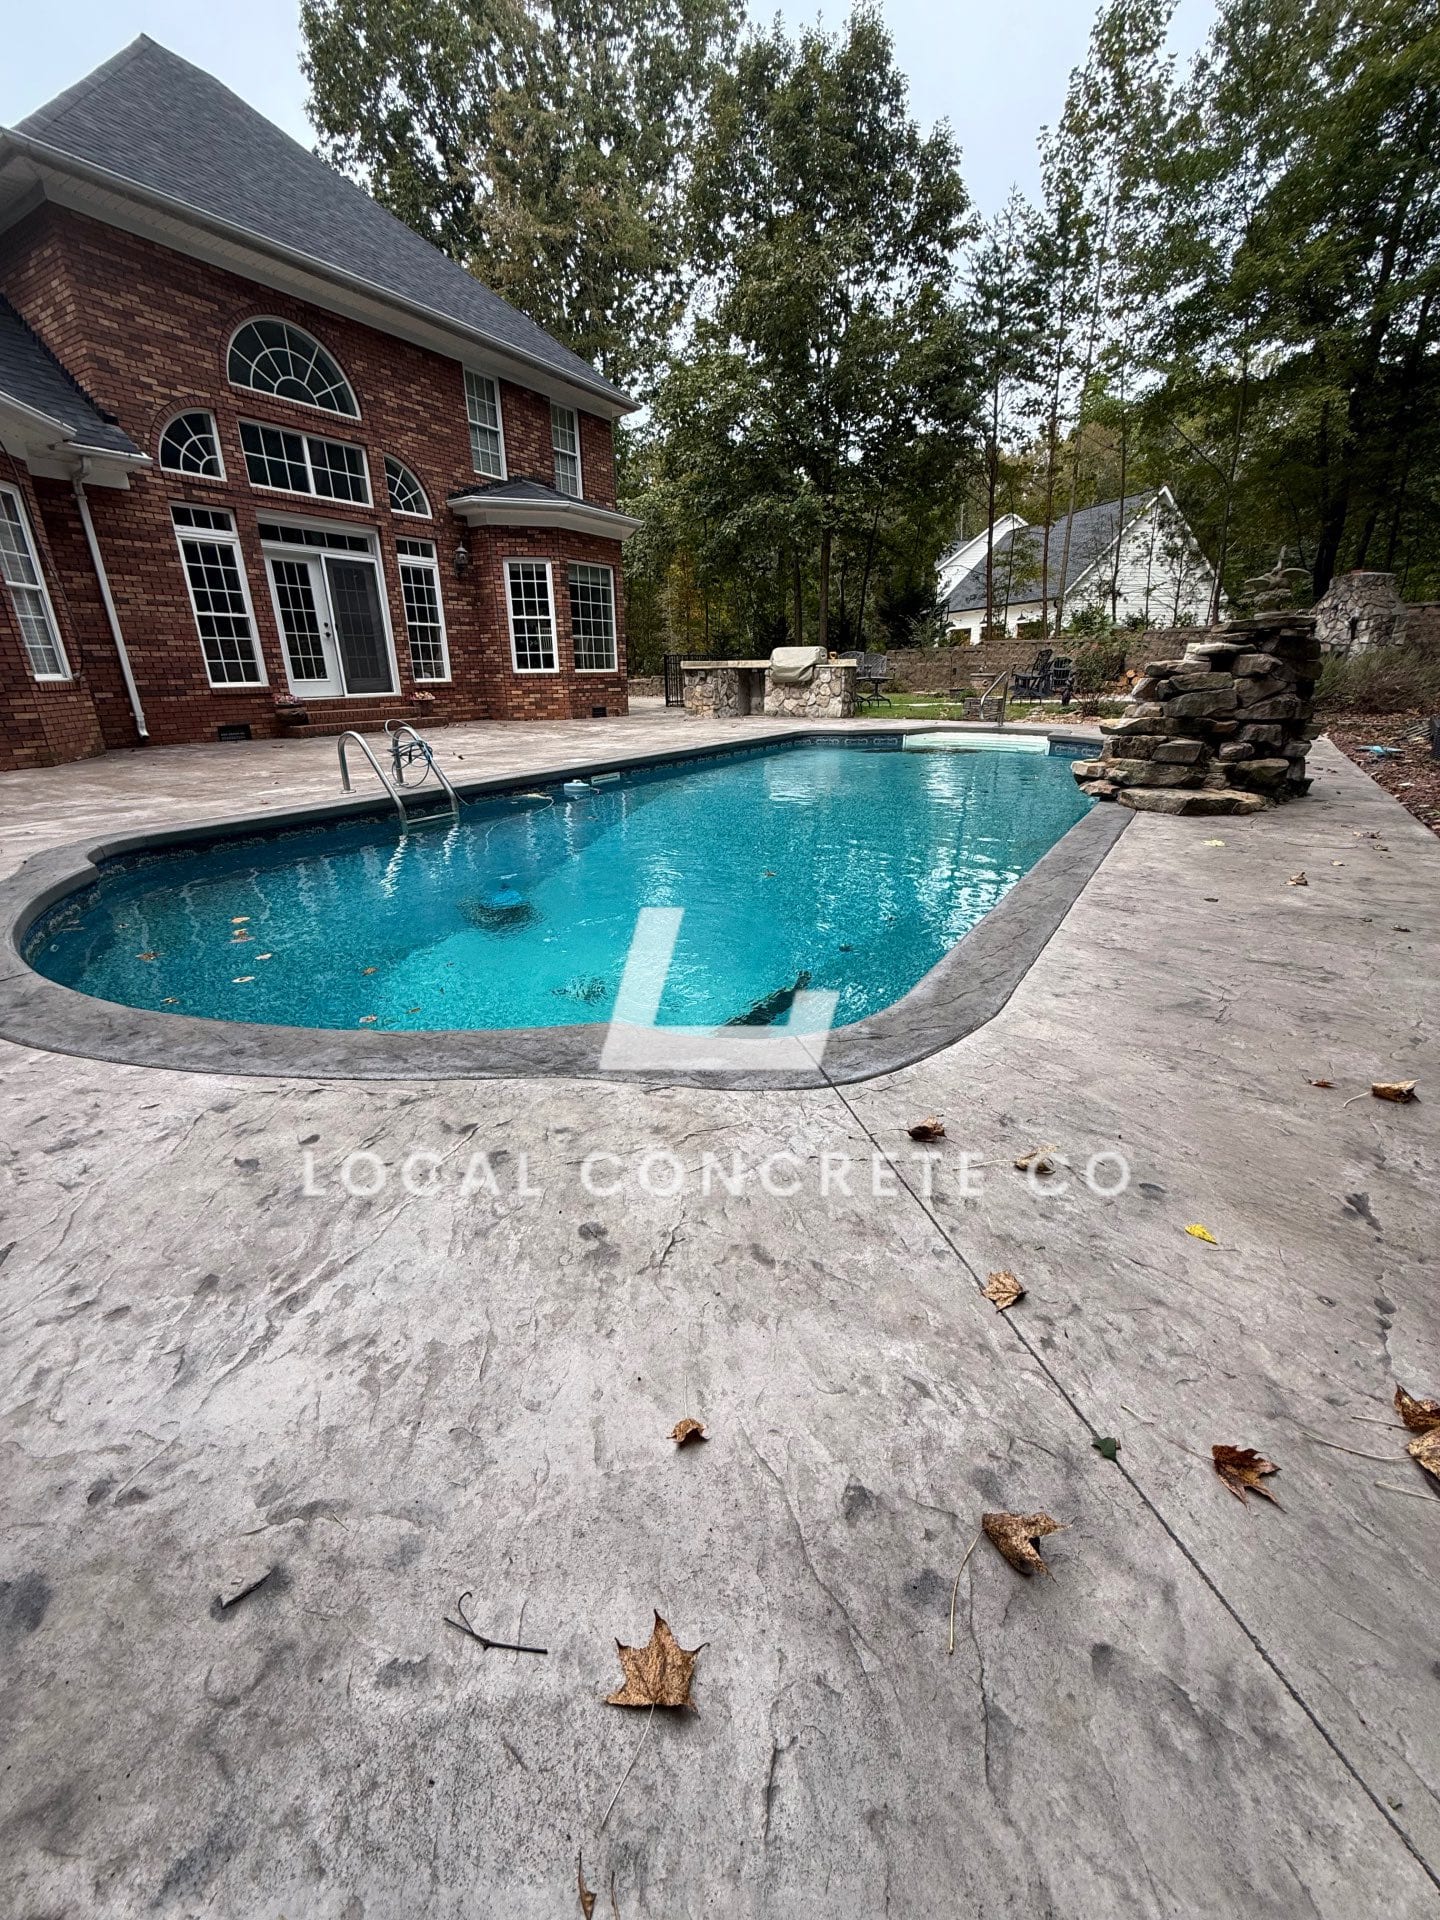
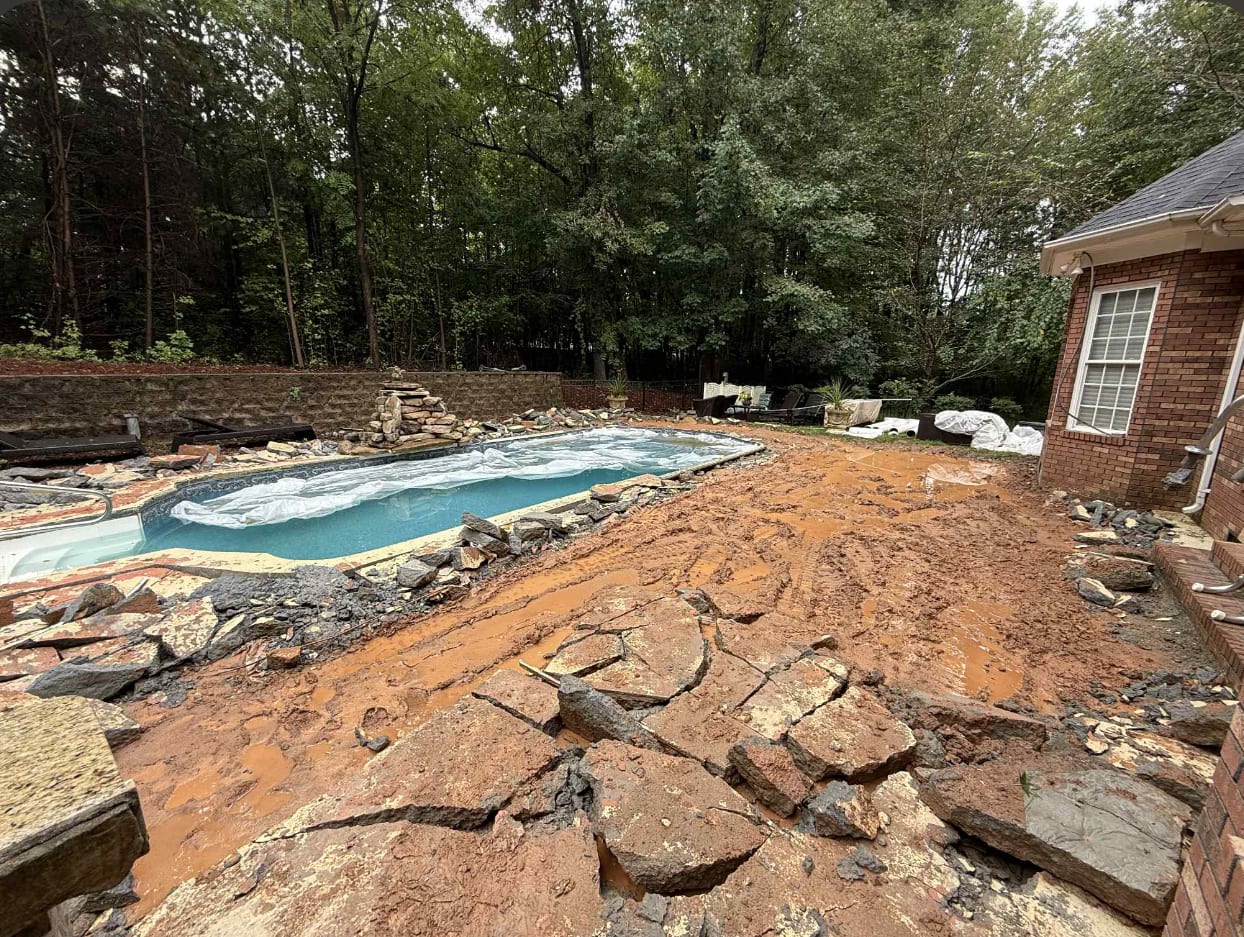
Stamped Pool Deck
Weathered deck replaced with textured stamped pour
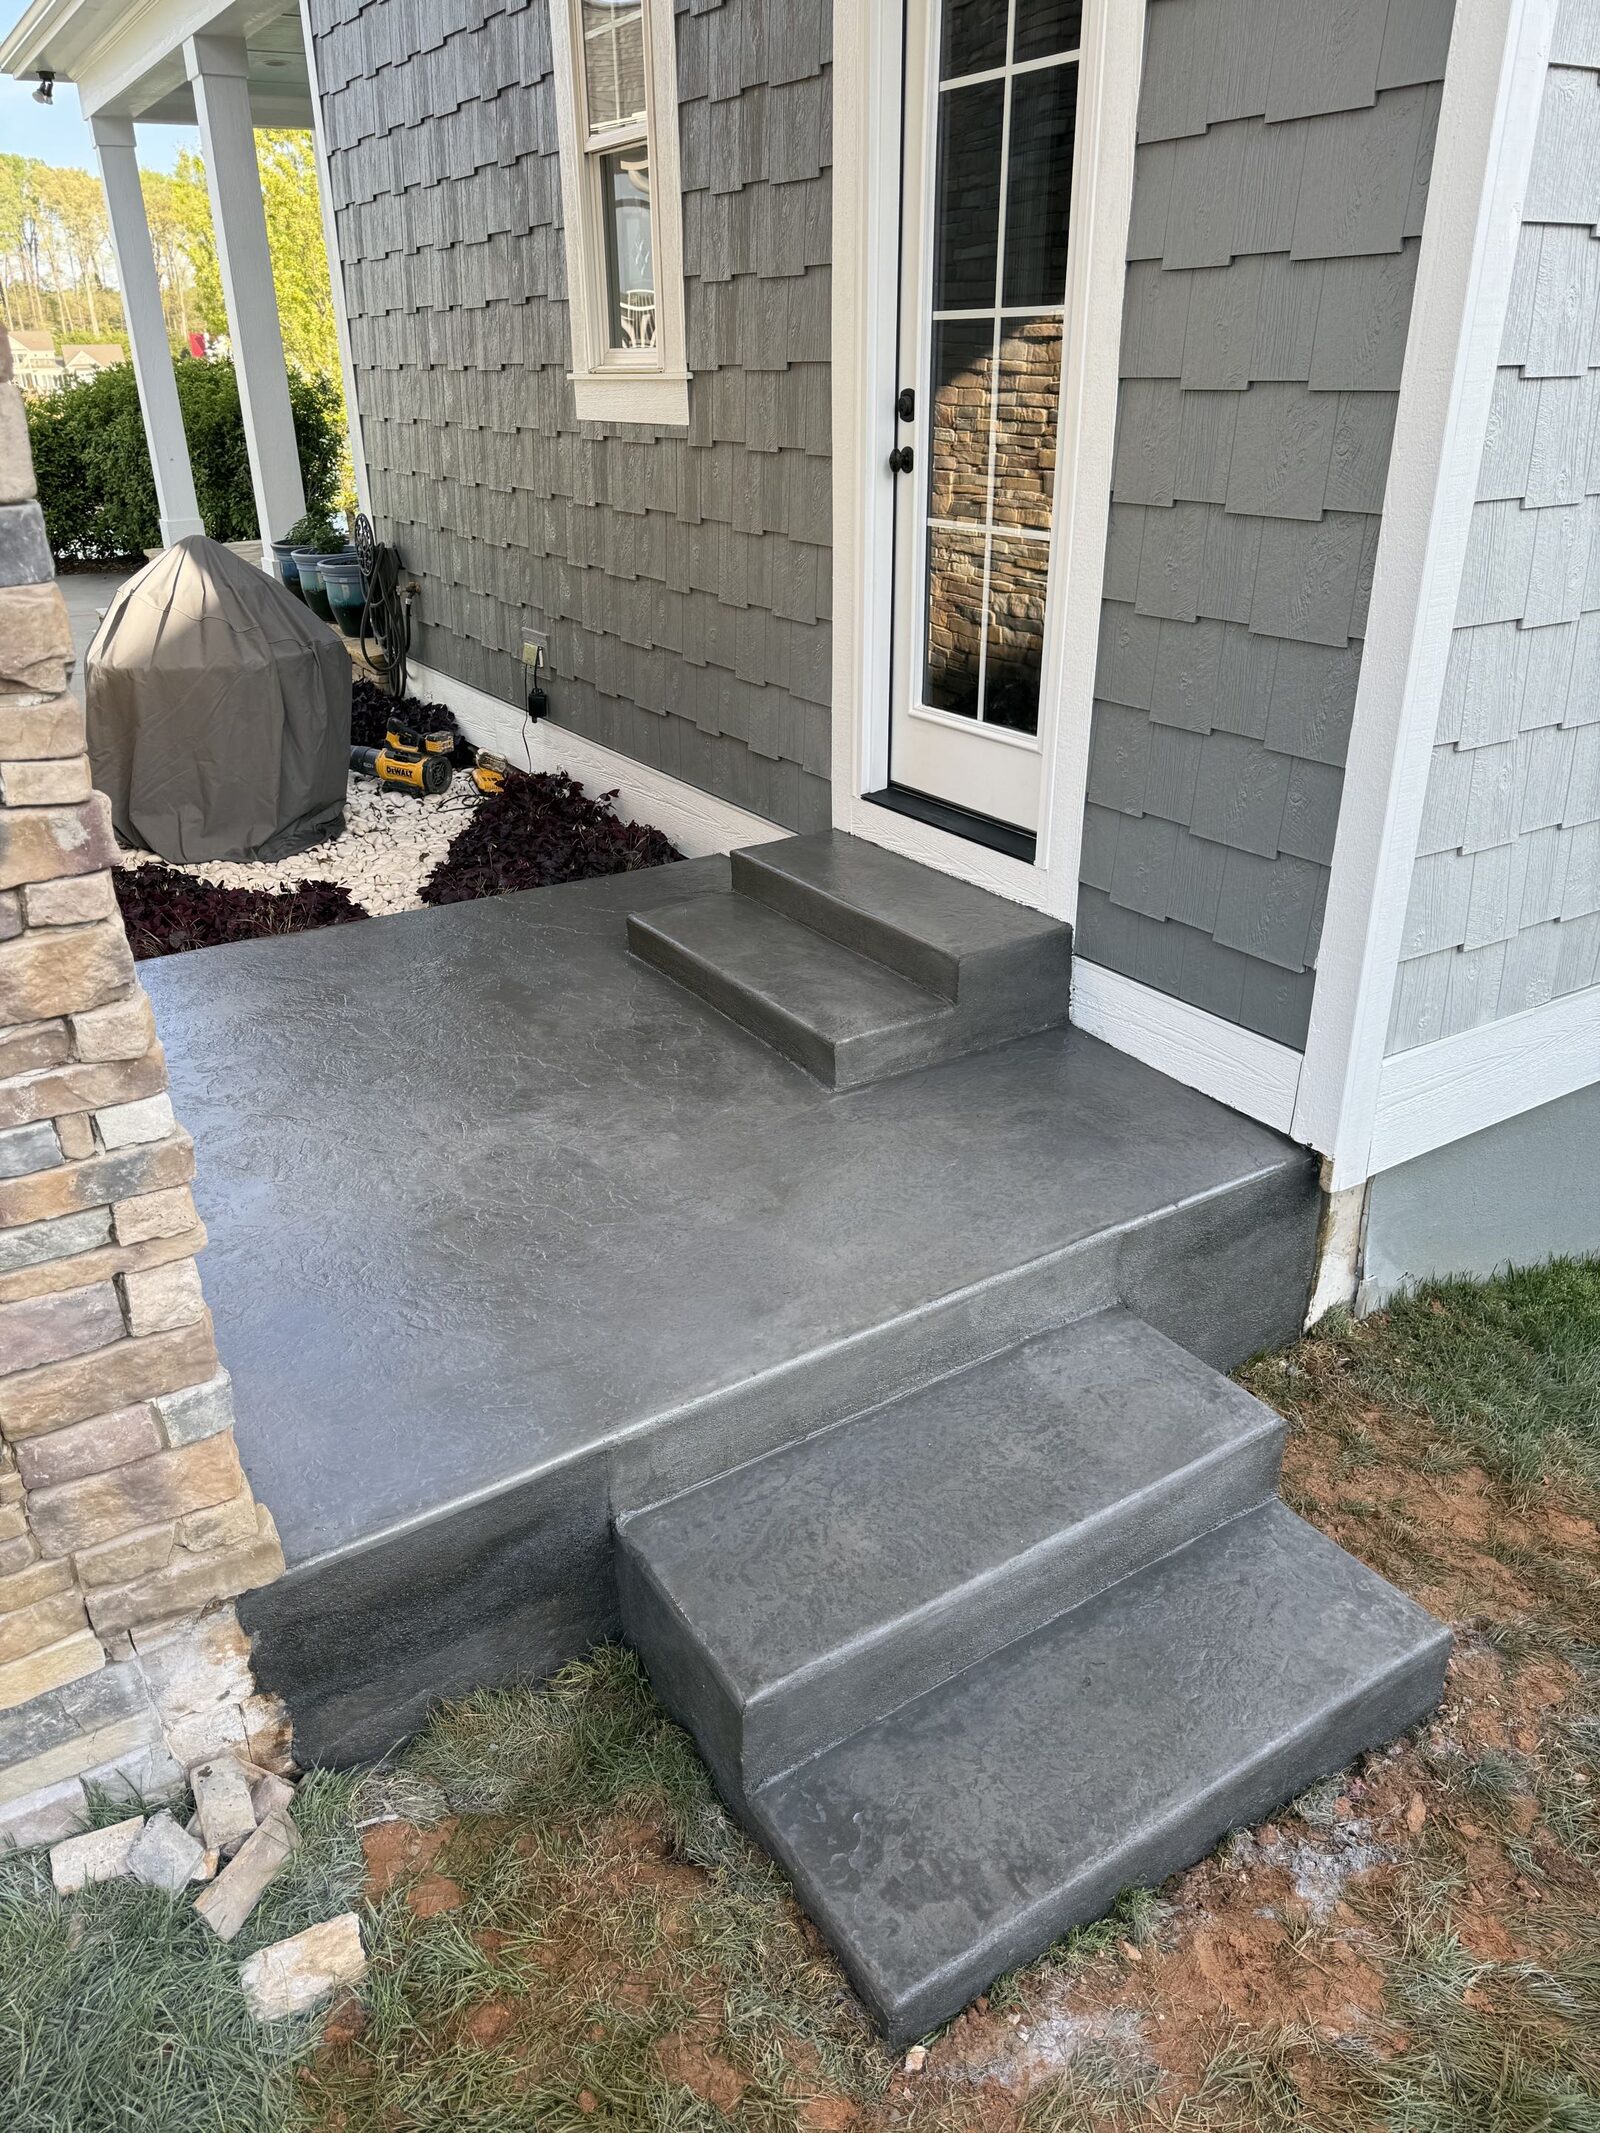
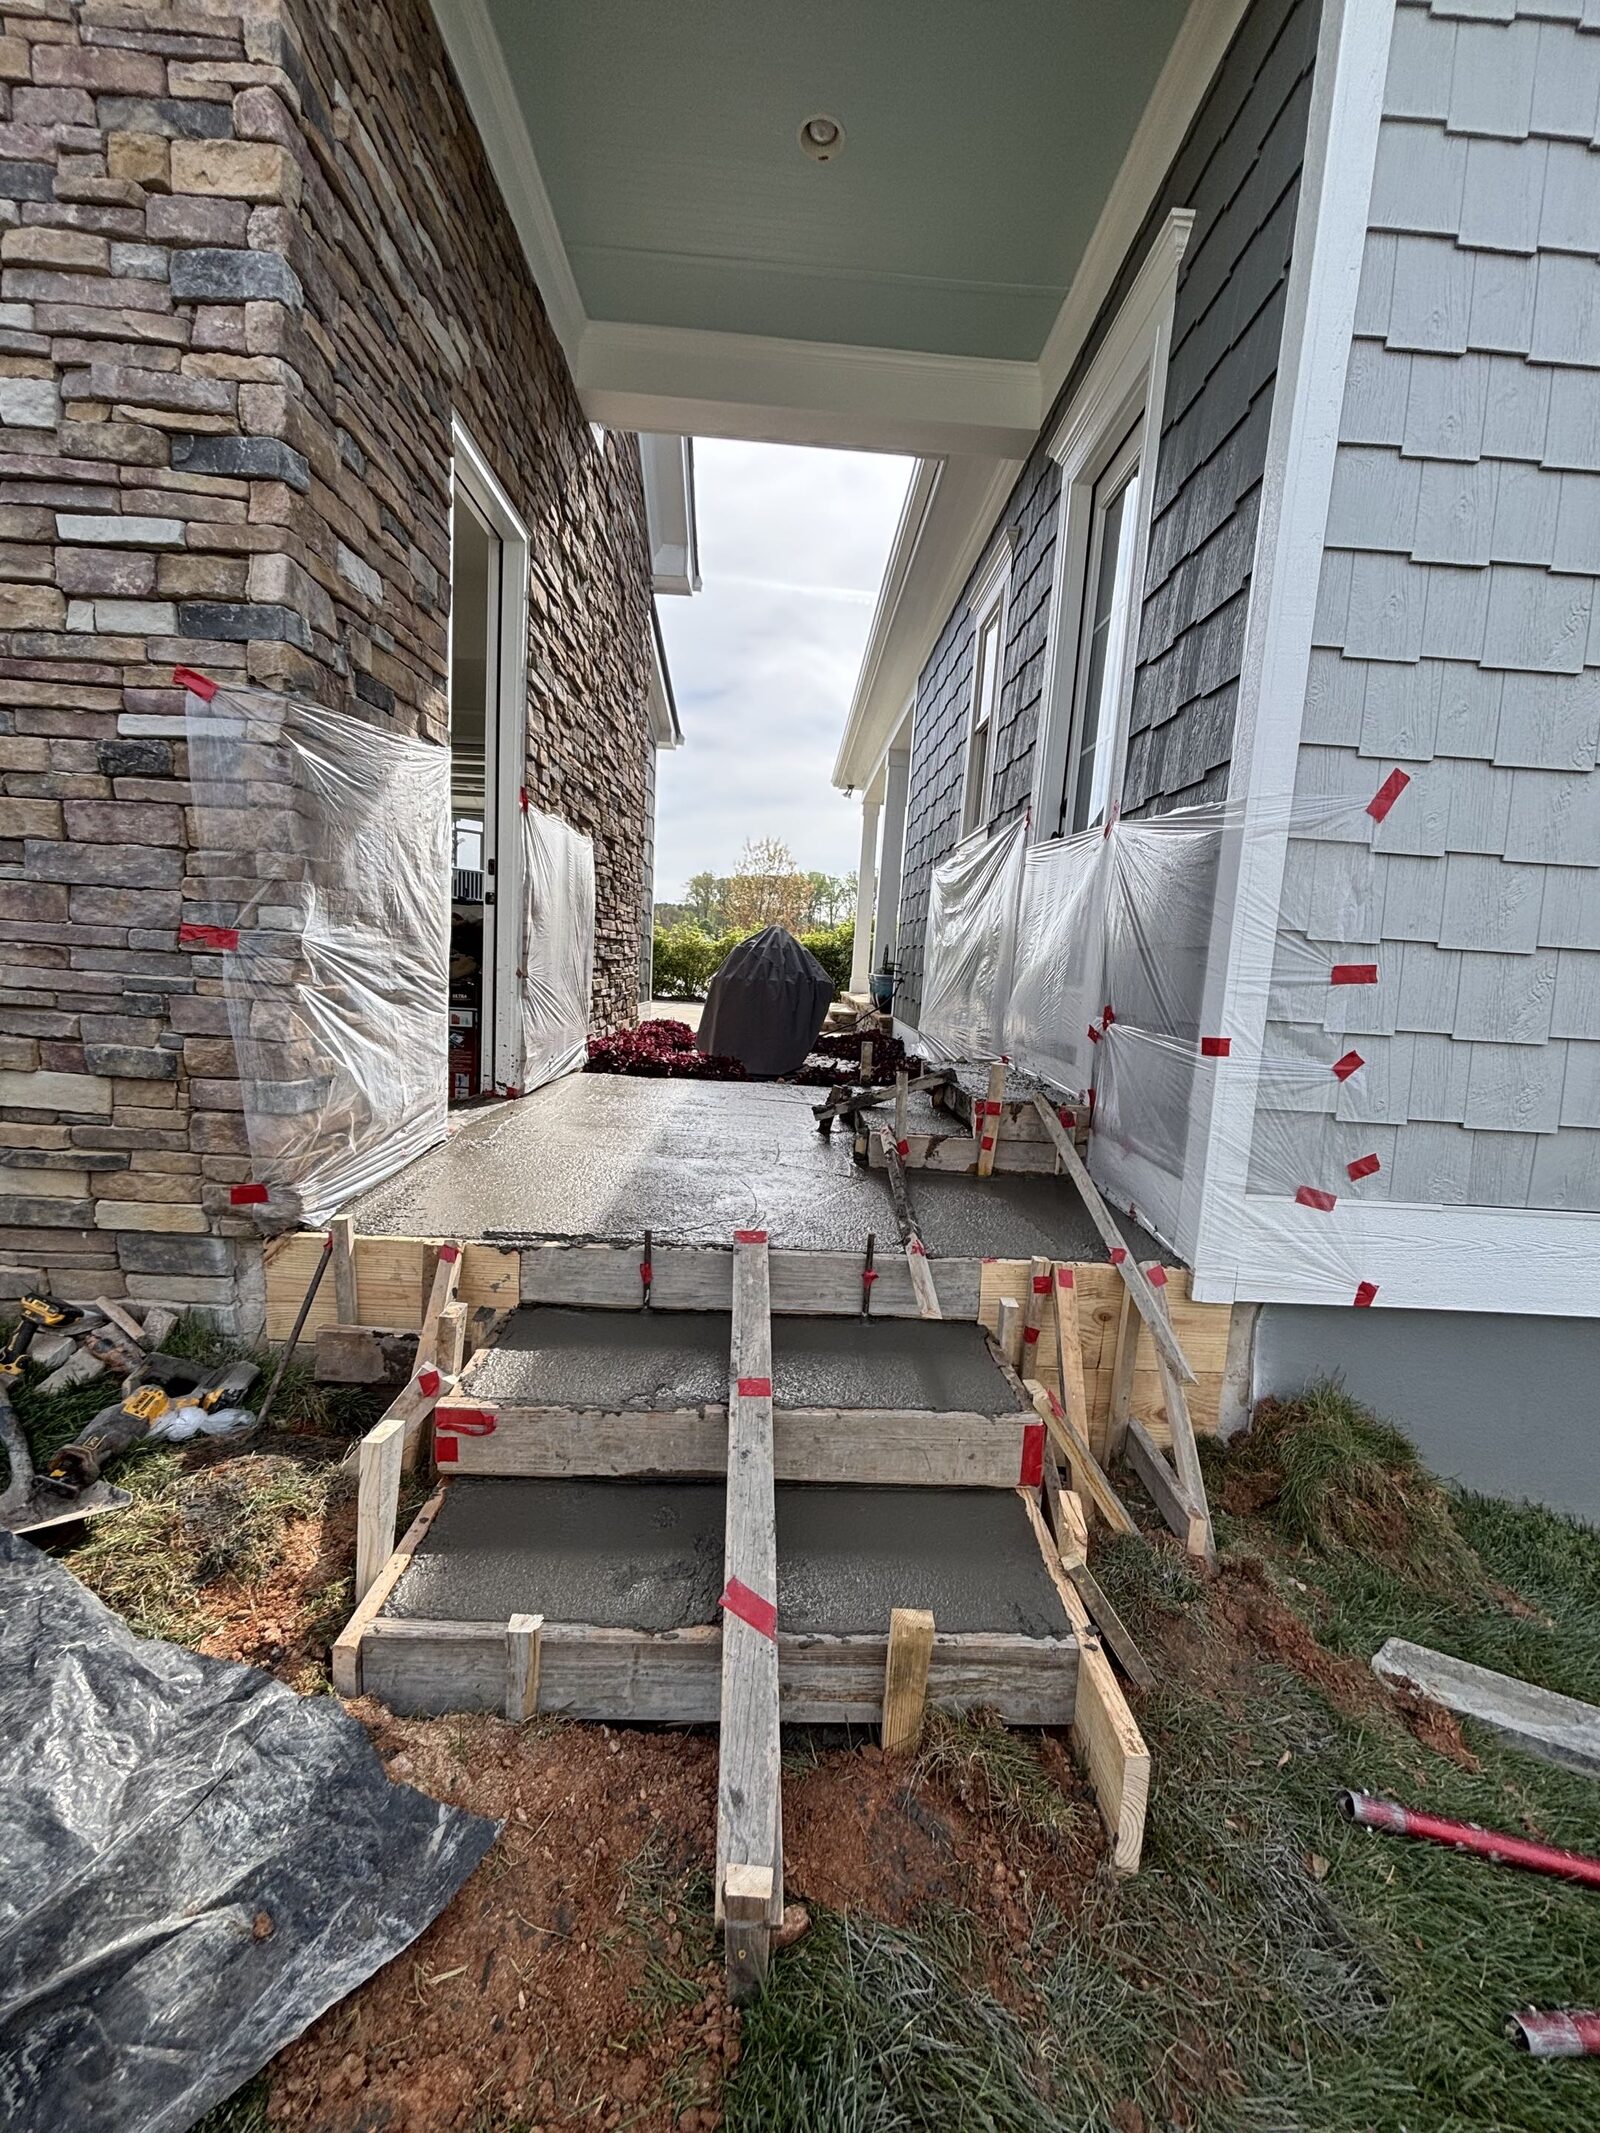
Front Porch & Steps
New entry pad plus poured steps to the door
A concrete basketball court is a heavier build than most homeowners expect. The slab has to shrug off a bouncing ball landing repeatedly on the same footprint, absorb the point-load of a heavy-duty in-ground hoop base, and stay flat for a decade under North Carolina sun and freeze-thaw cycles. Courts that fail early almost always trace back to a slab that was too thin, a hoop footing that was not detailed as a separate pour, or a base that never got compacted properly. The regulation NBA half court is 50 feet by 47 feet and a full court is 50 by 94, but real backyard courts sit at three common sizes: a 30×30 hoop pad, a 30×50 half court with painted key, and a 50×60 half court with proper three-point arc — each with its own slab spec and hoop-mount detail.
Local Concrete Contractor scopes basketball court pours across North Carolina starting with a site walk covering pad orientation (rim under a north-south sight line to keep sun out of shooters' eyes when it matters), grade and drainage, subgrade type, hoop location, tree canopy interference, and the surfacing plan — acrylic modular tile, poured acrylic coating, or a broom-finish concrete court all sit on the same slab spec but change the finish handoff. We deliver a written spec covering pad dimensions, slope, base build, thickness, reinforcement, joint pattern, hoop-footing detail, and finish before dirt moves. No deposit up front, no vague scope on the invoice.
Basketball Court Slab Sizes and Specs We Pour
Court size is a mix of what you want to play and what actually fits in the yard. Getting the slab spec right for the size and use pattern makes the difference between a court that plays like a real court and one that spider-cracks by year three.
- Hoop pad — 30×30 (900 SF), room for a hoop plus a solid free-throw shooting area and enough space to move for one-on-one
- Backyard half court — 30×50 (1,500 SF), enough for a painted key, three-point line, and adult-scale play
- Regulation-style half court — 50×47 (2,350 SF), full NBA half-court dimensions with three-point arc, key, and full baseline run
- Small full court — 50×74 (3,700 SF), high-school-style shortened full court
- Regulation full court — 50×94 (4,700 SF), NBA/college full dimensions, typically HOA or club scope
- Driveway-conversion court — existing driveway extended or repoured to hit court dimensions
- Multi-sport pad — basketball plus pickleball line overlay on 30×60 or 34×64
Every slab we pour hits the same core spec: 5-inch minimum thickness (6 inches on courts with in-ground hoop bases embedded through the slab), 4,000 psi mix, #4 rebar on 16-inch centers, sawcut control joints on a 12×12 grid, 1% slope in one direction for drainage (side-to-side is standard, never toward the hoop-side sideline), broom or steel-trowel-then-broom finish depending on the surfacing plan, and cast-in-place hoop footings poured before or with the slab pour.
Base Prep, Drainage, and Why Most Courts Crack Early
The single biggest reason a basketball court fails early is the base underneath the slab. A pad poured directly on unimproved subgrade or on 2 inches of loose stone will telegraph settlement cracks within a year, and the point-load of a heavy in-ground hoop base makes the failure worse — the slab sinks unevenly under the hoop before it does anywhere else.
Our base spec: strip 8-10 inches of topsoil, compact the subgrade to 95% Proctor, install and grade 4-6 inches of #57 washed stone as a drainage layer, compact again in 2-inch lifts, then pour on top. Under the hoop location specifically we go deeper on the stone base (6-8 inches) because a full-size in-ground hoop with a 4×4×48-inch anchor footing puts serious localized load on that spot every time the rim gets used.
Drainage direction matters. The slab must fall 1% (about 1 inch of drop over 8 feet) in one direction so water sheds off the pad. Sloping toward the hoop creates a puddle right where you shoot free throws every time it rains, and a dead-flat court holds water at the low spots and shortens surface life. Perimeter drainage — a French drain along the low side, or at minimum a graded swale directing water 10 feet clear of the pad — keeps the base dry season after season.
Get your free quote
We respond in less than 2 hours.
Why Local Concrete Contractor?
- 01.Precision craftsmanship
- 02.Transparent pricing models
- 03.Dedicated project manager
- 04.Zero Deposit Required
Our Concrete Installation Process
Every basketball court we pour runs through the same 18 checkpoints — from the on-site consult through the final walkthrough.
Consultation & Estimate
We meet on-site to assess scope, discuss vision, and provide a detailed, transparent quote tailored to your property.

Logistics & Scheduling
Coordinating crew, equipment, and weather windows to ensure a seamless project start.
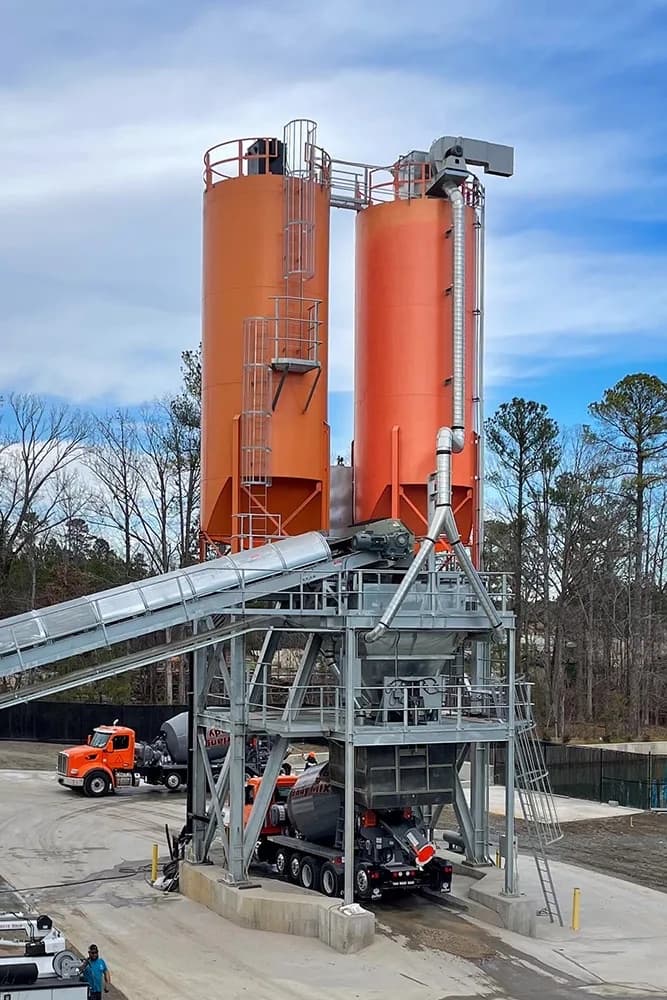
Custom Mix Design
Ordering specific concrete additives and slump requirements based on current temperature and humidity patterns.
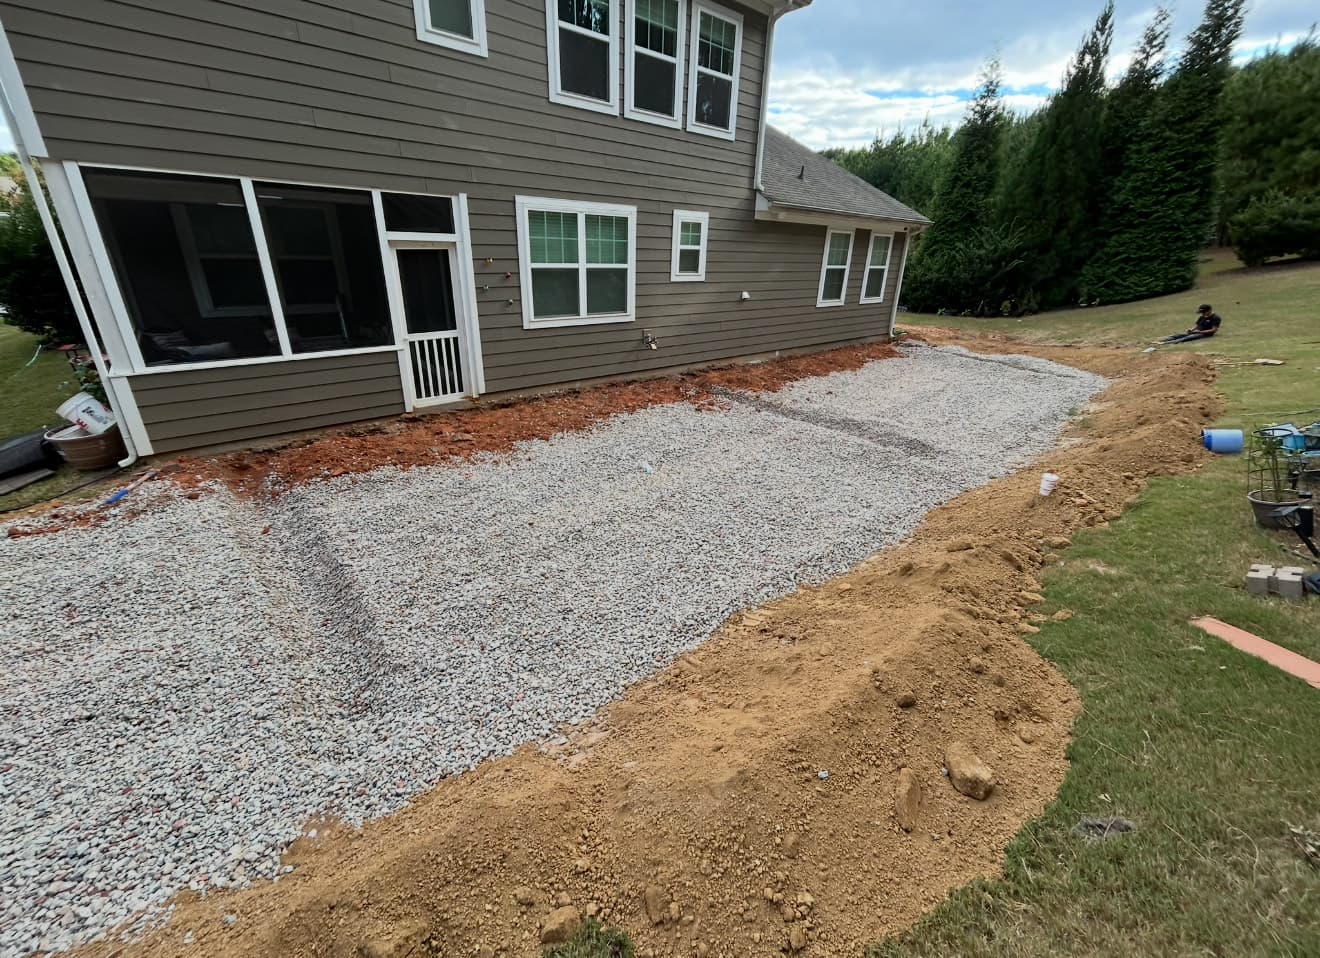
Site Preparation
Preparing the workspace and establishing safe access routes for our equipment and crew.
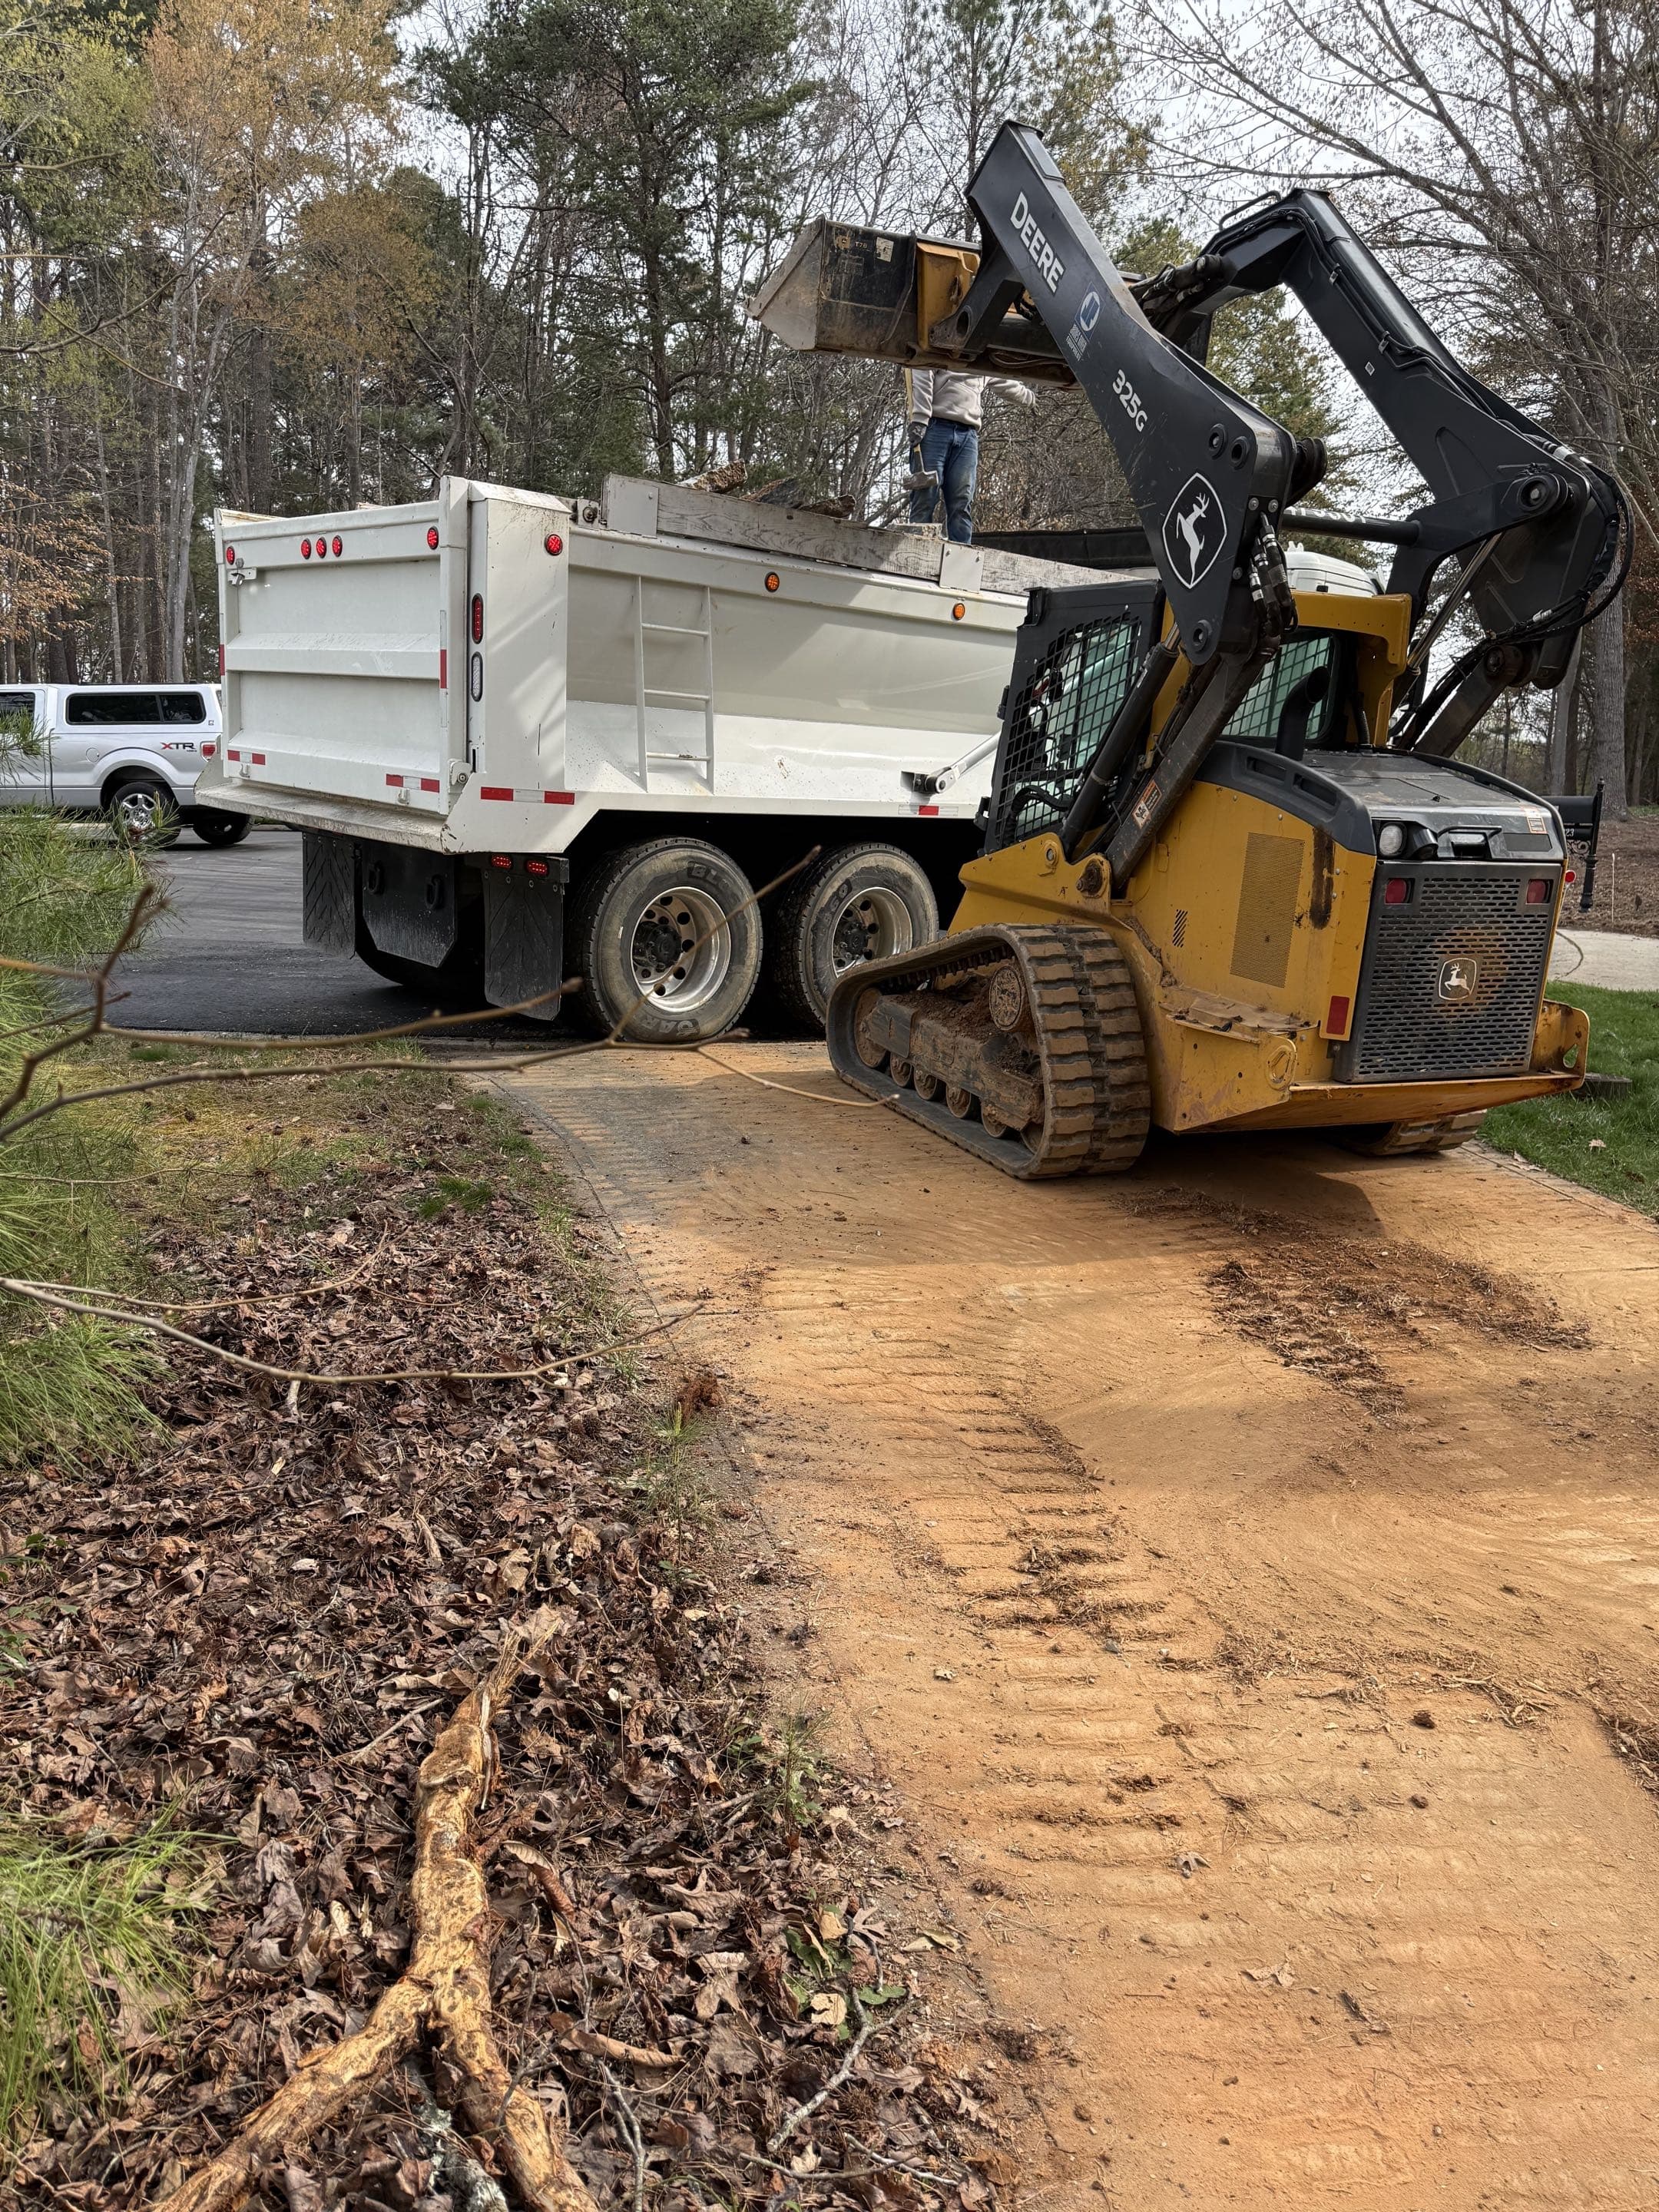
Demolition
Removal and disposal of existing concrete, leaving a clean slate for your new installation.
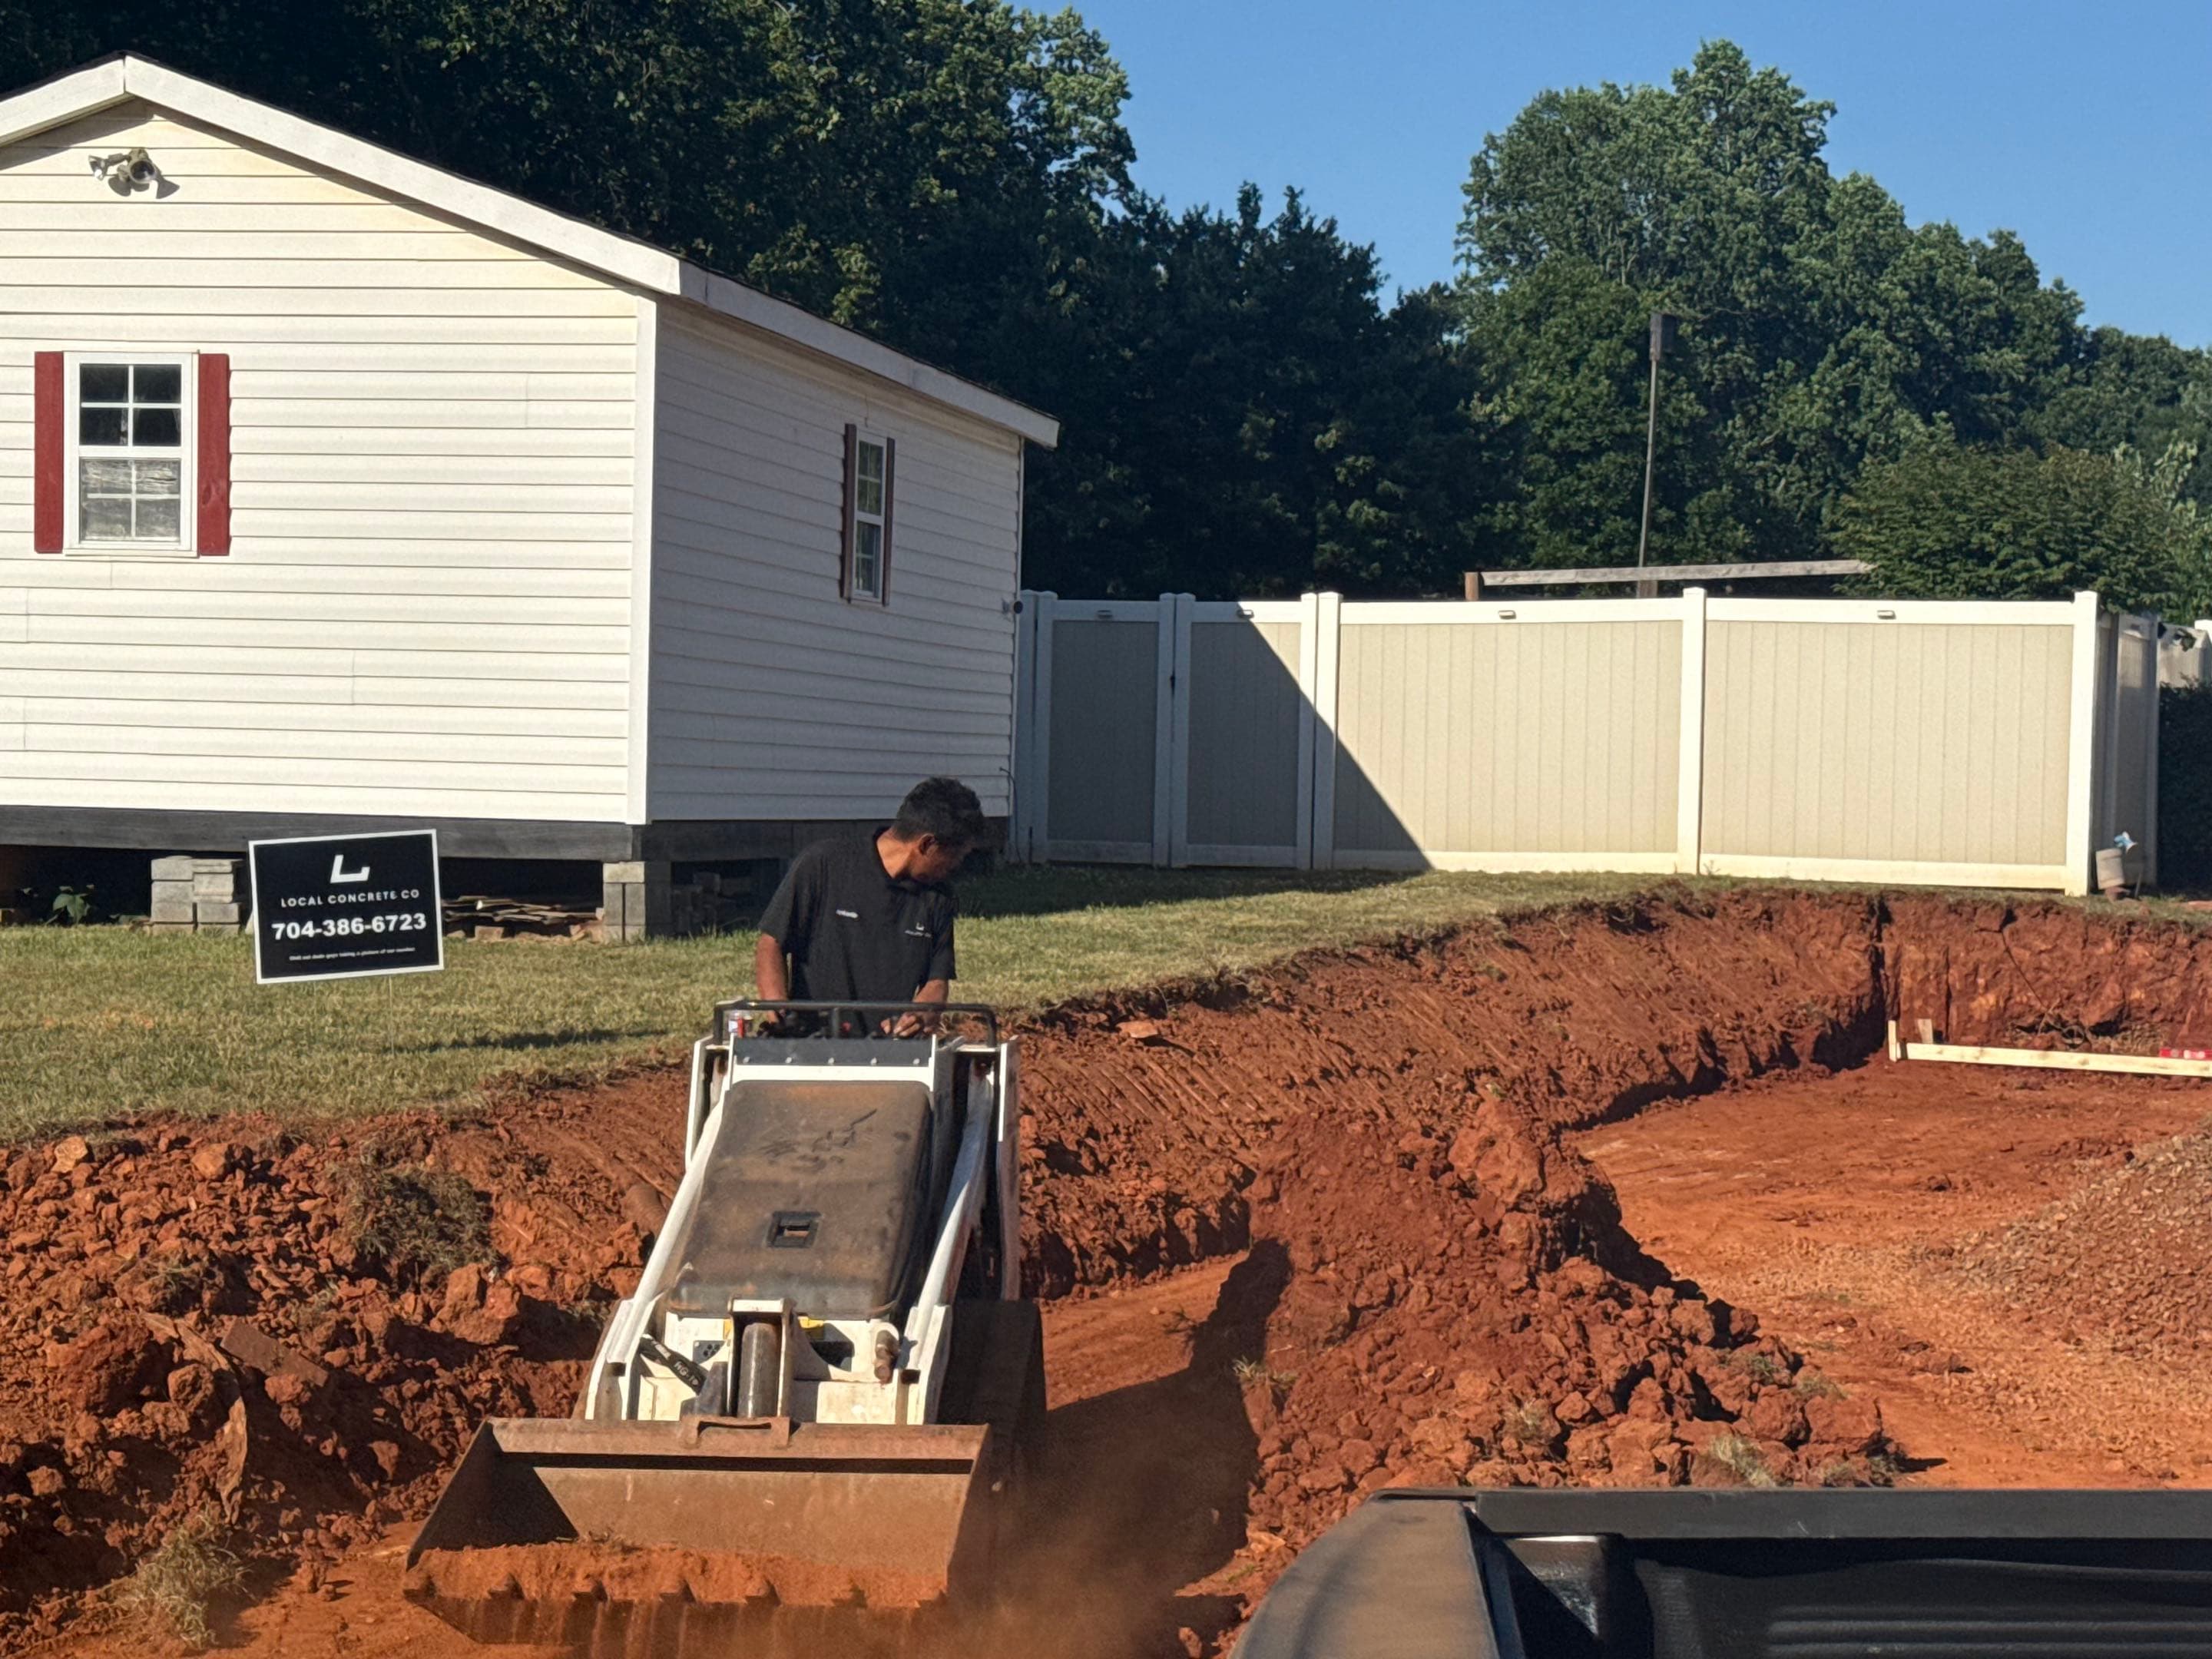
Grading & Forming
Expert grading for proper drainage and setting high-quality lumber forms for clean edges.
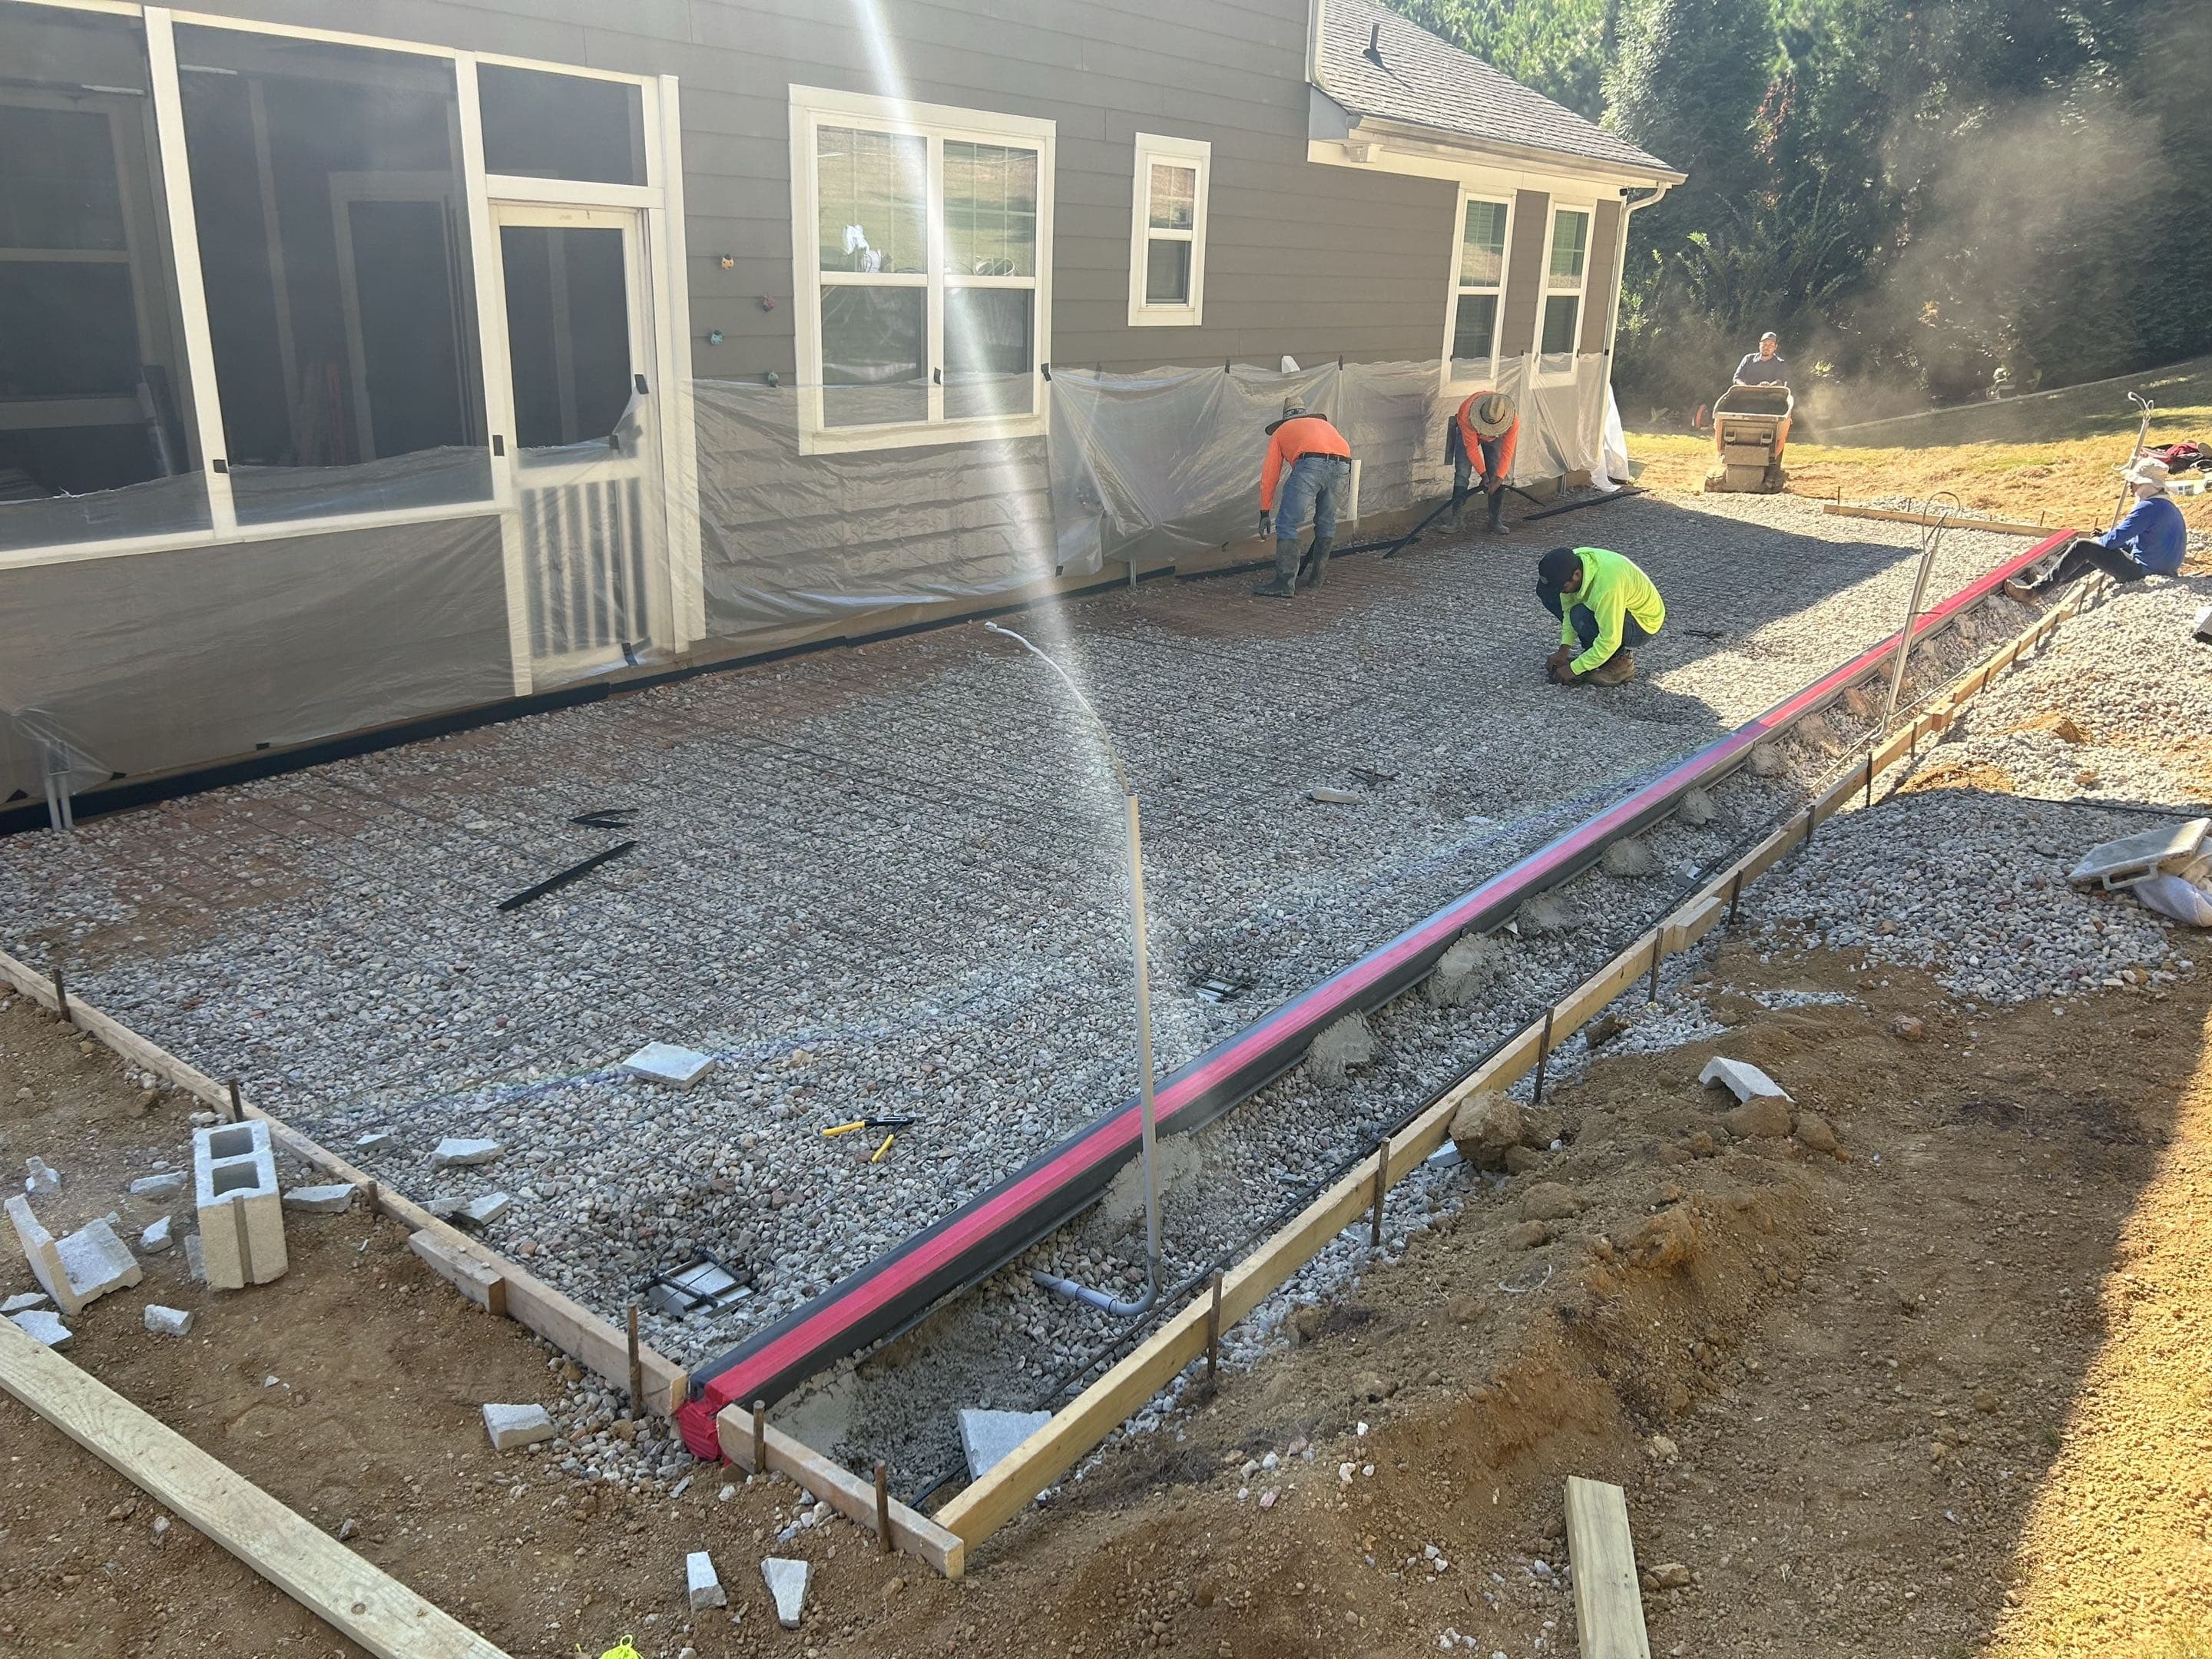
Reinforcement
Installation of steel rebar or wire mesh grid, using 1/2 inch grid for structural tensile strength.
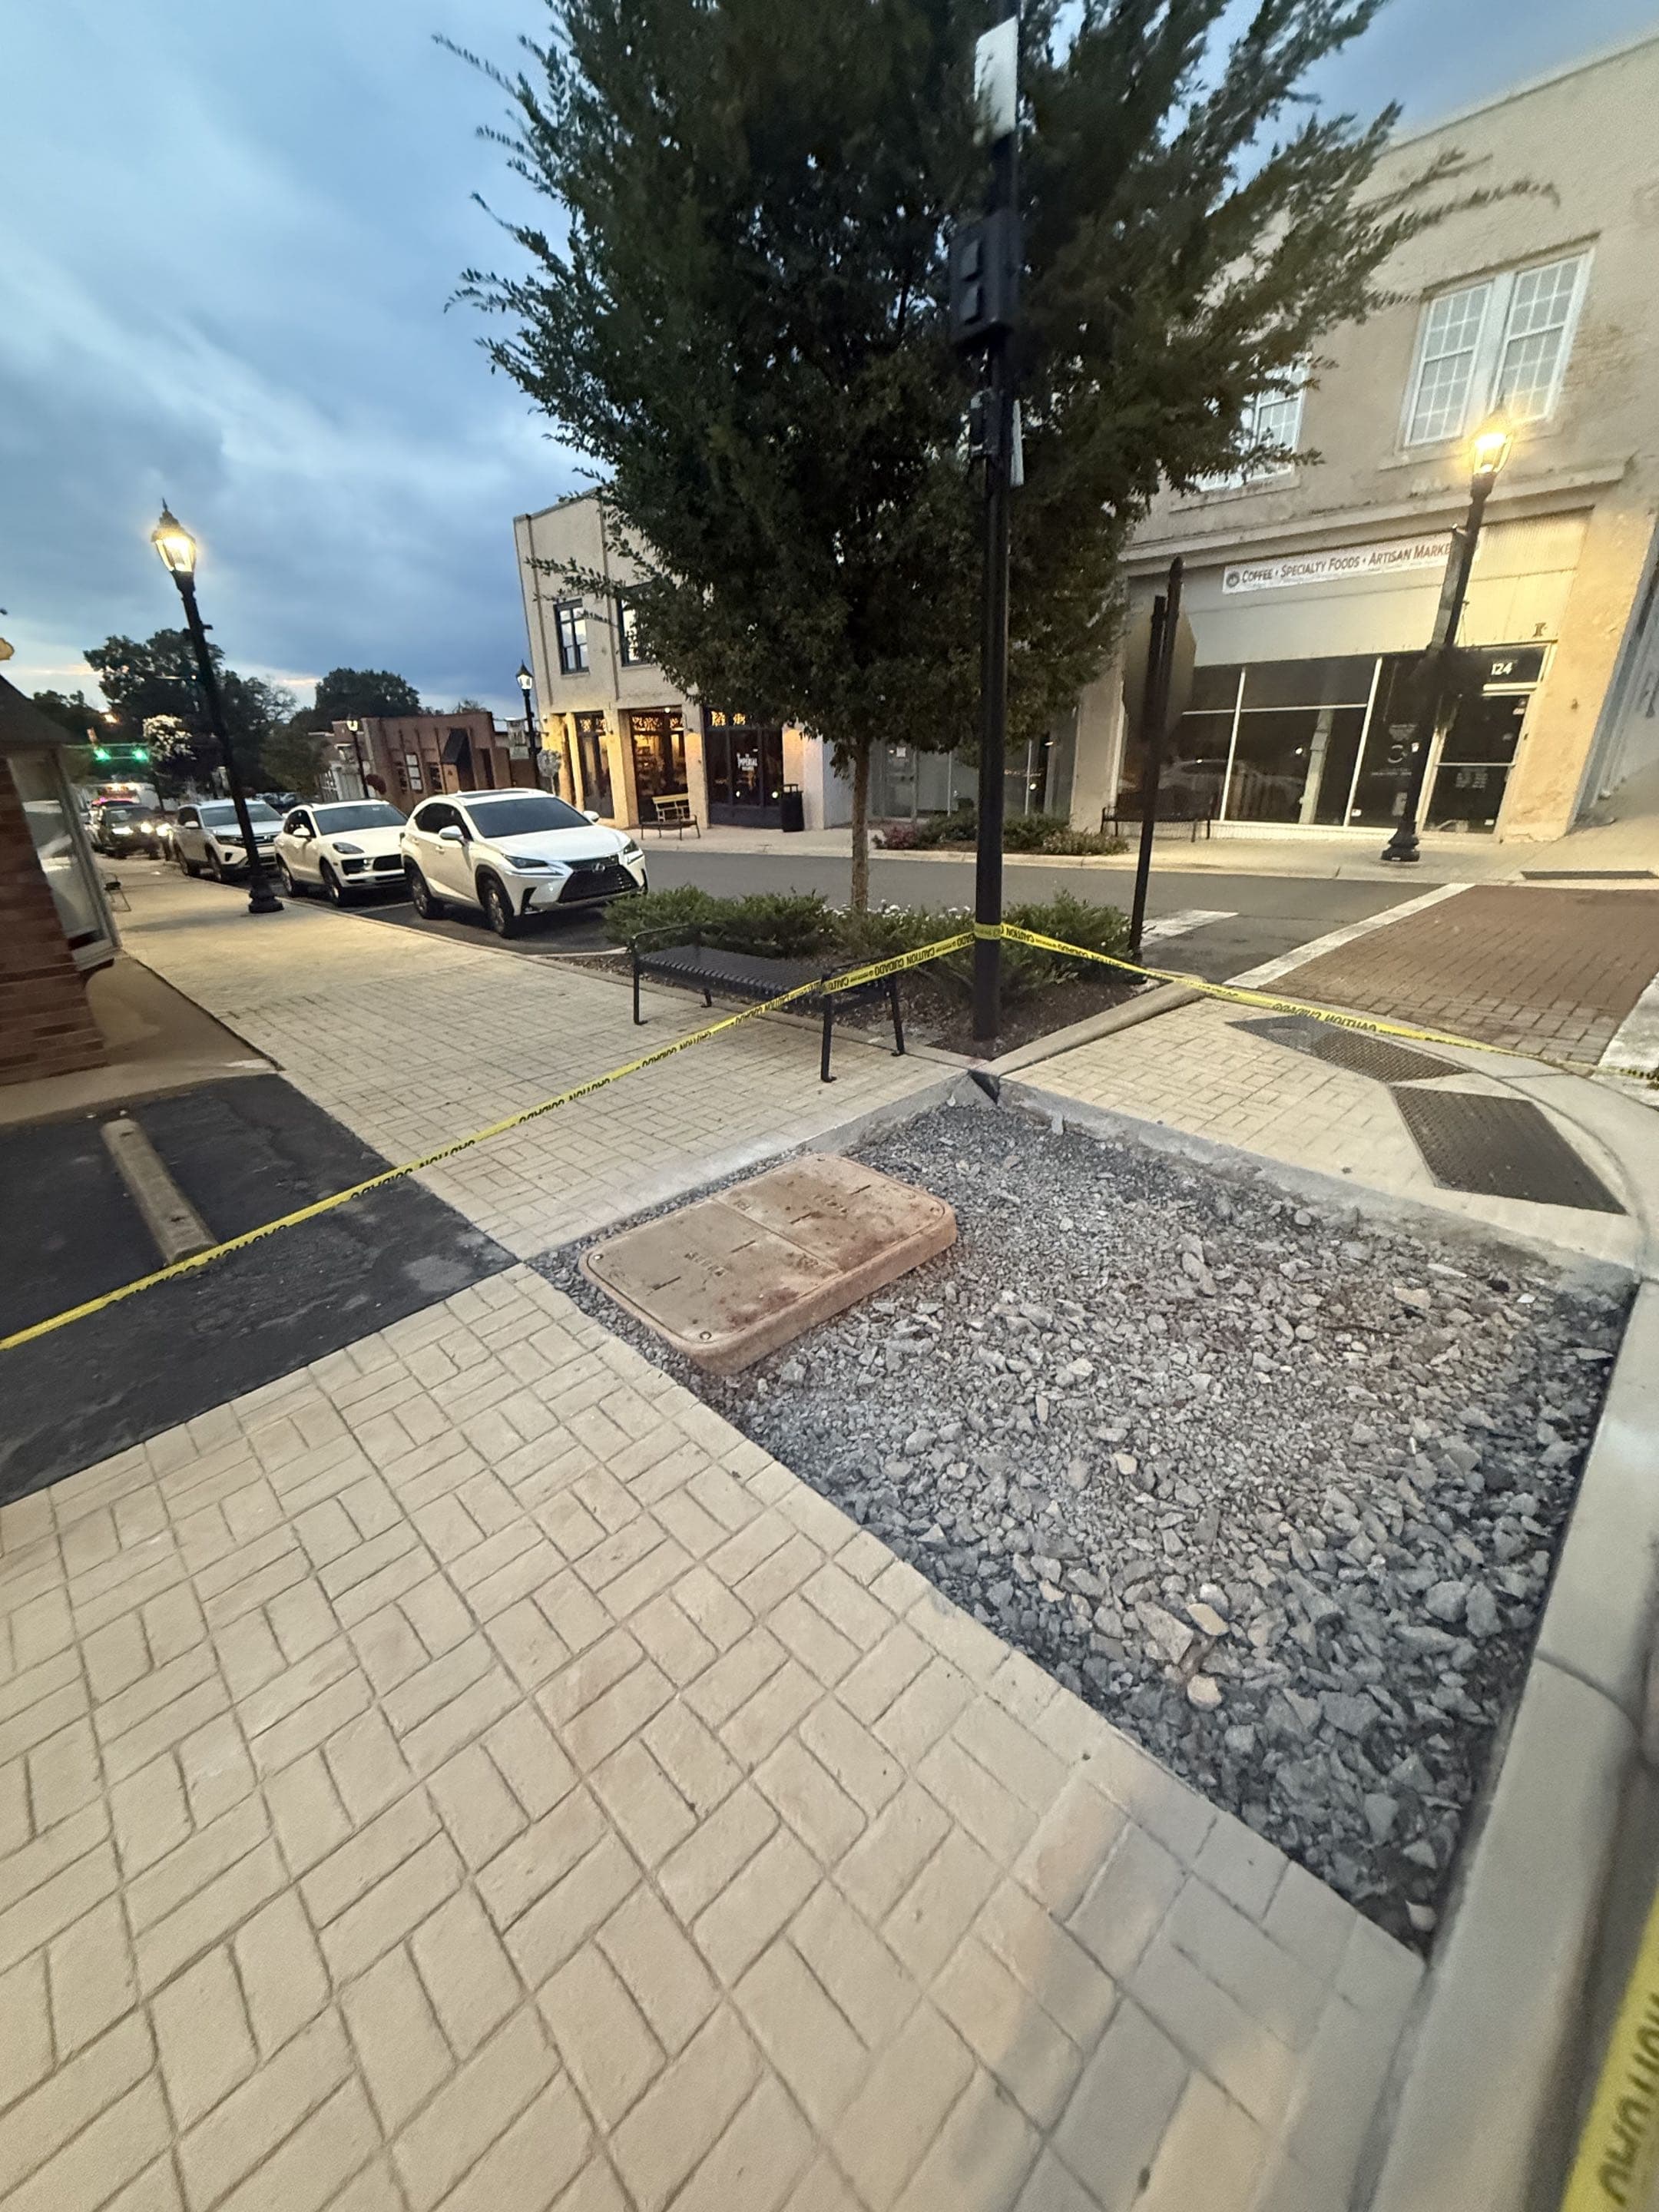
Pre-Pour Inspection
A final check of elevation, form stability, and reinforcement placement before the truck arrives.
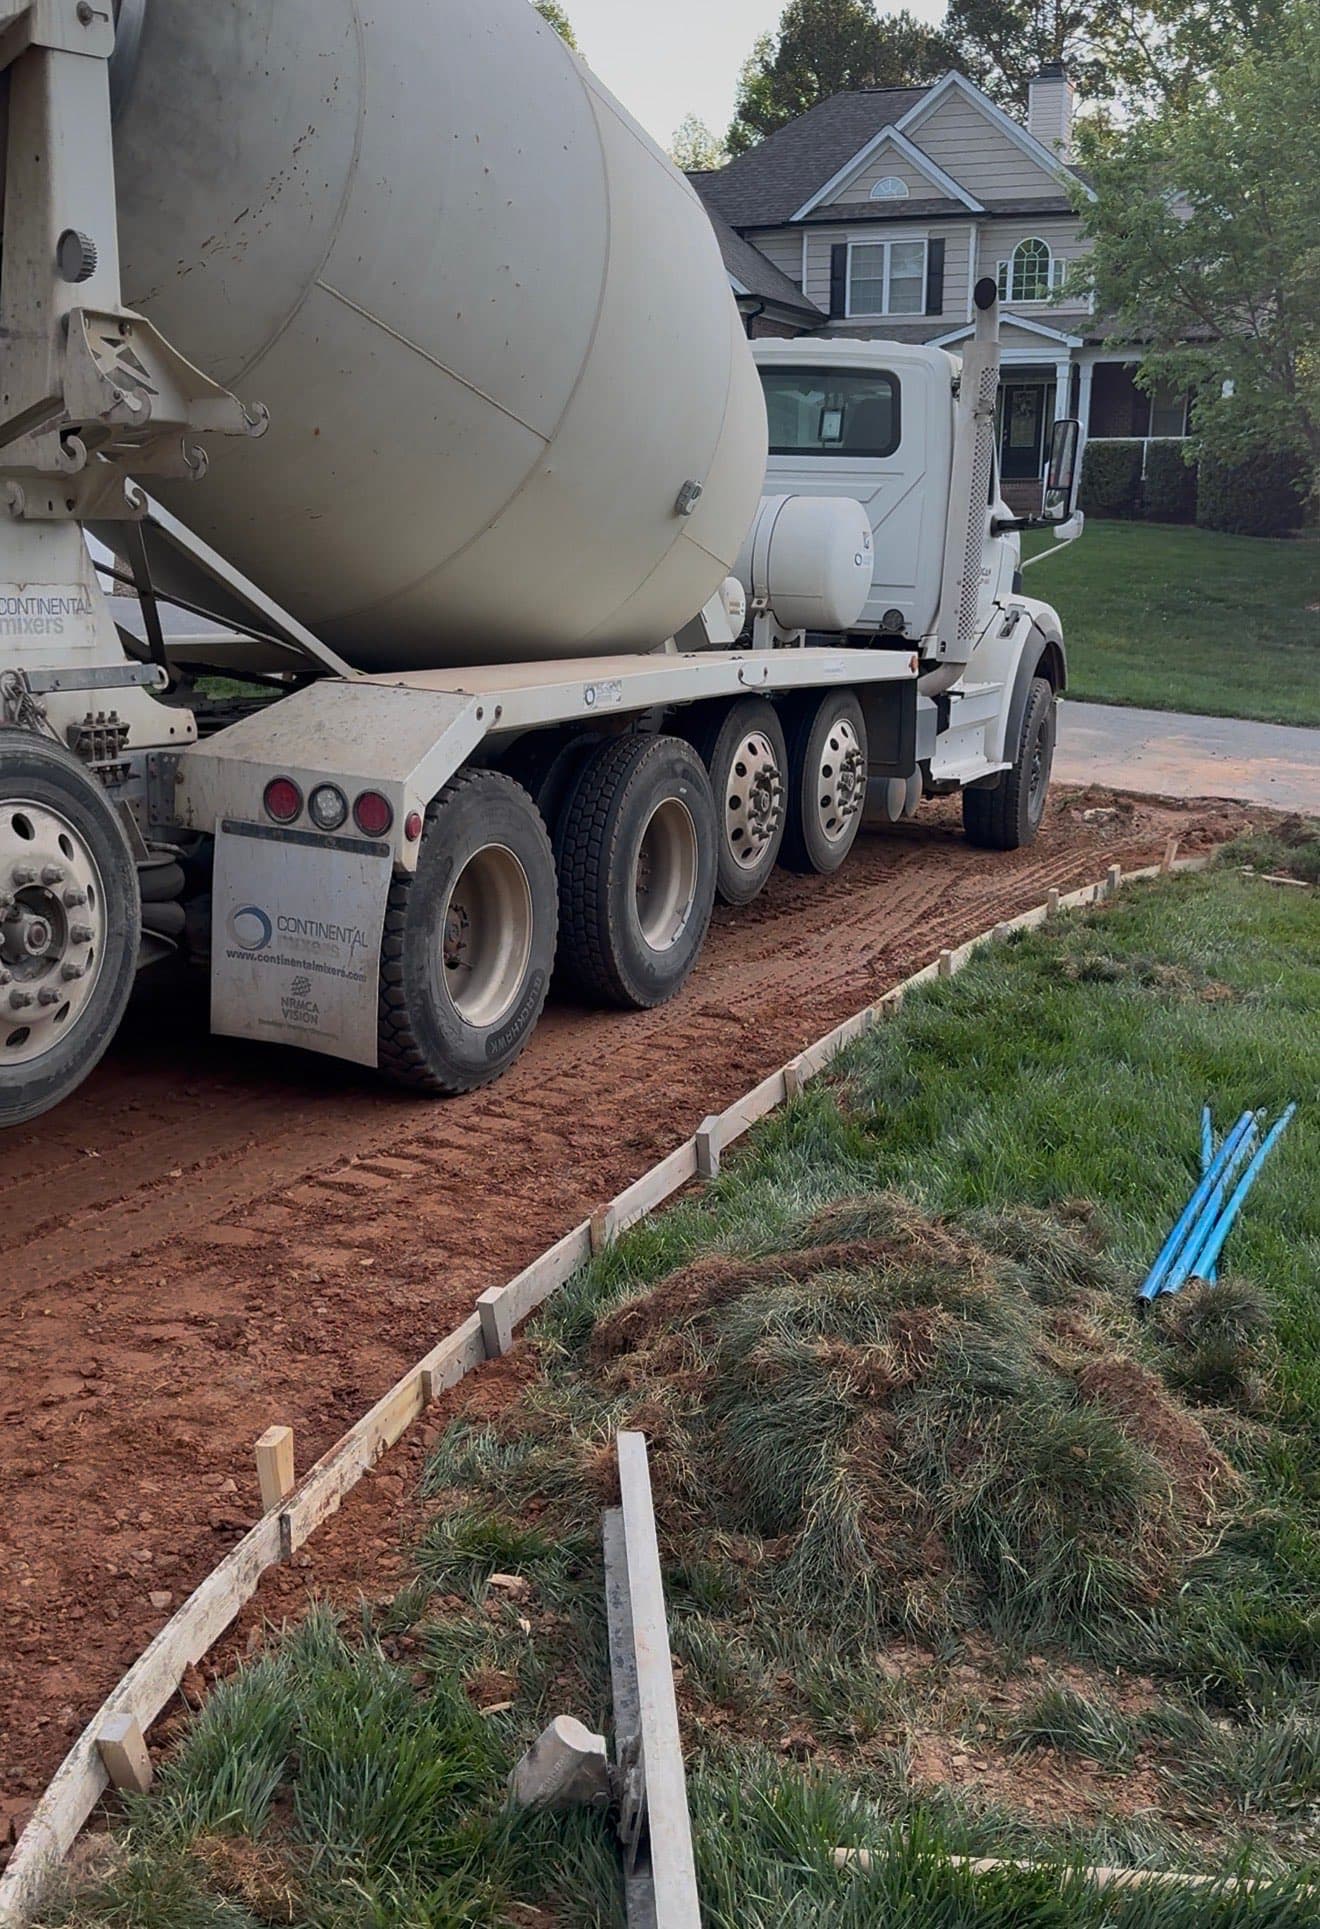
Slump Testing
Verifying concrete consistency on-site to ensure it meets the engineered mix design.
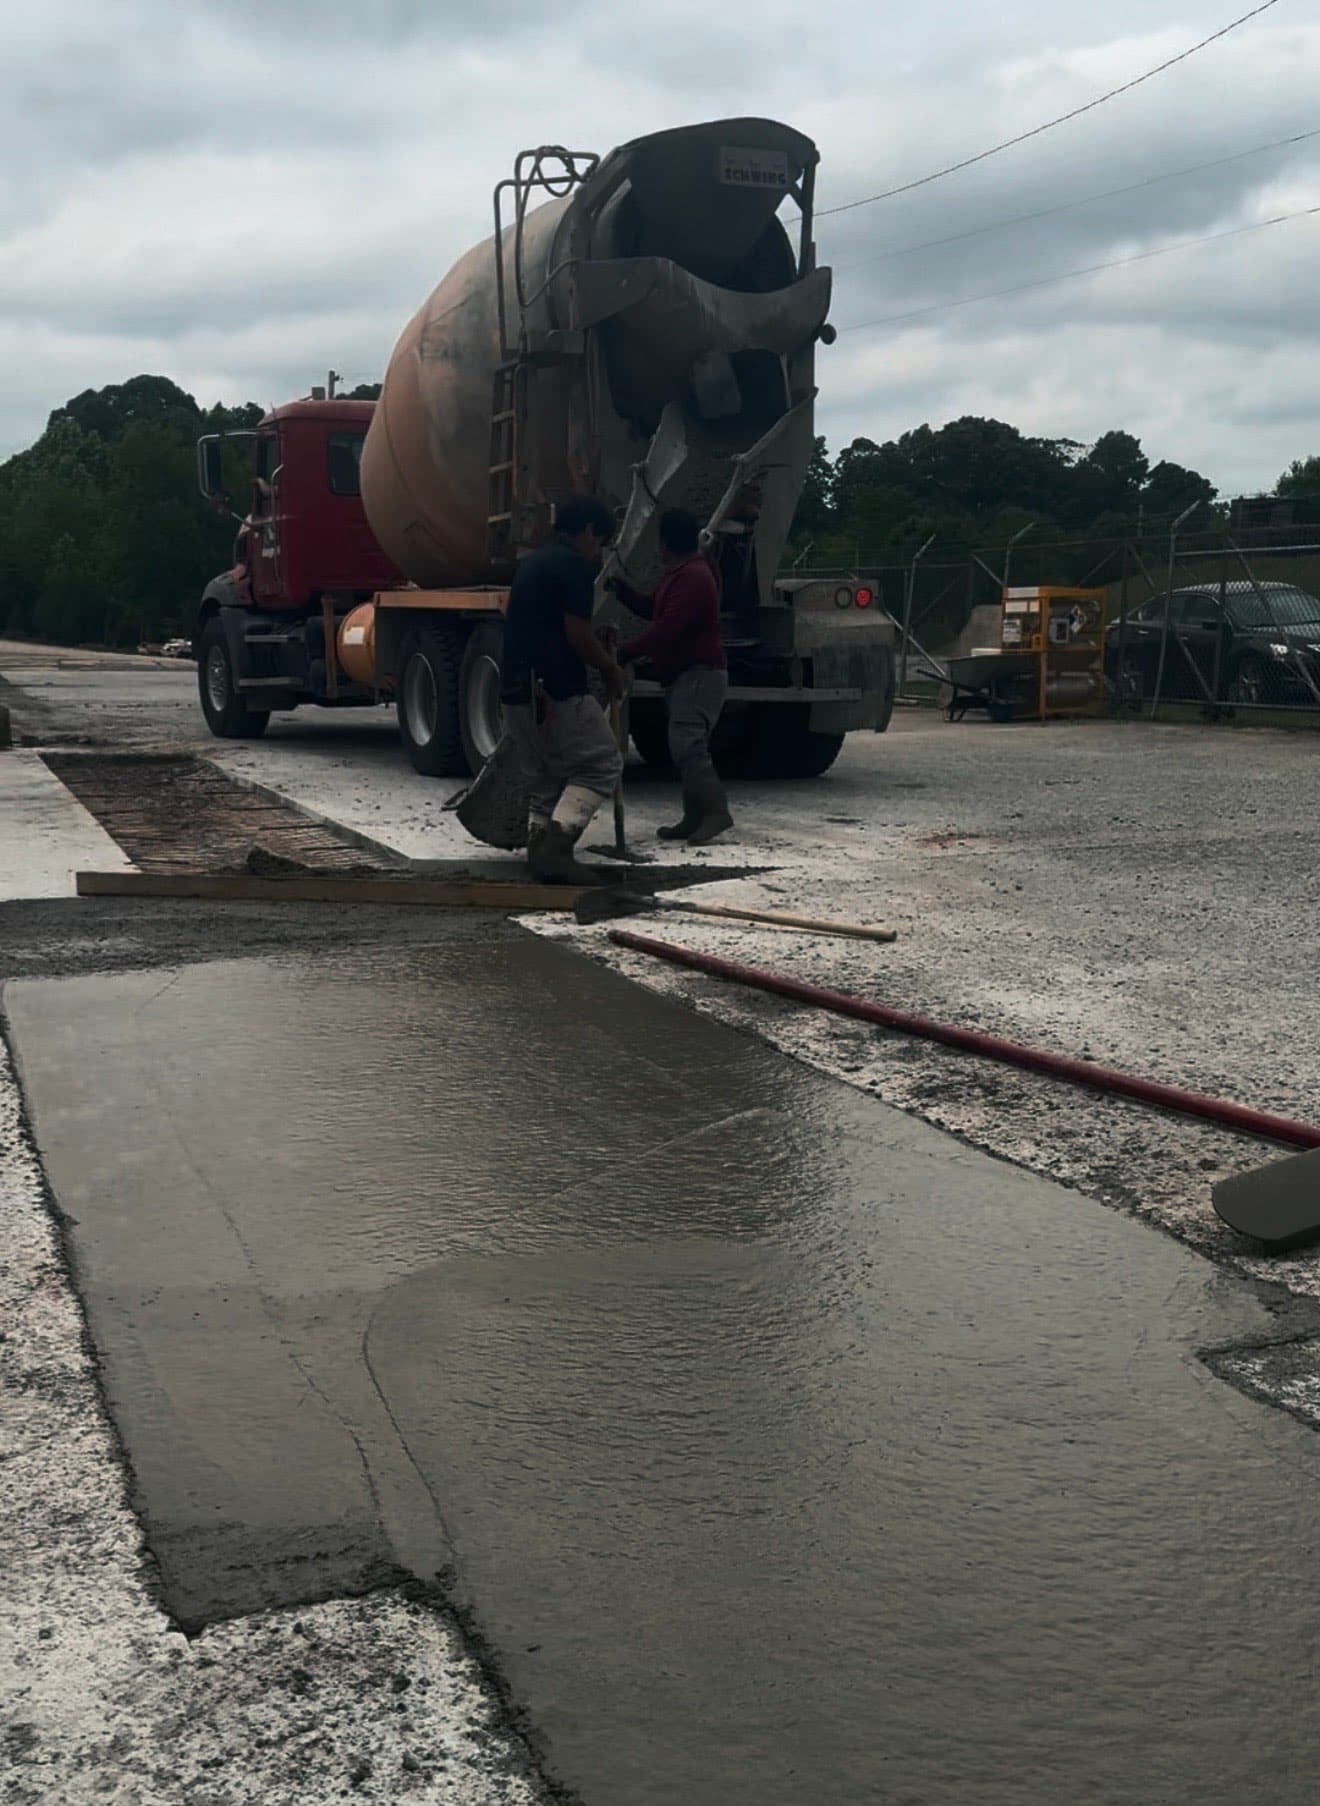
Placement
Controlled pouring and placement of concrete to avoid cold joints and ensure uniformity.
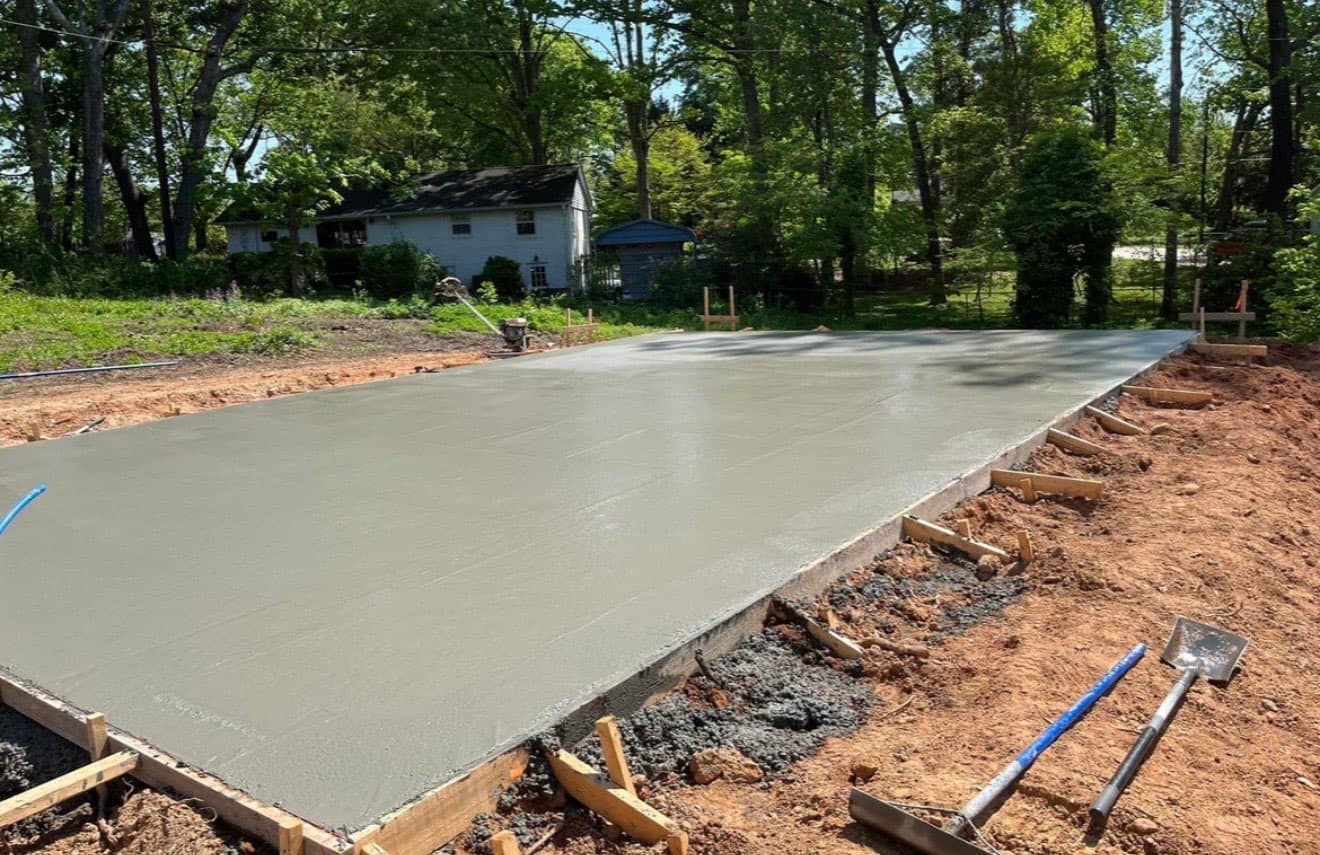
Bull Floating
Pushing aggregate down and bringing 'cream' to the surface for a smooth finishable layer.
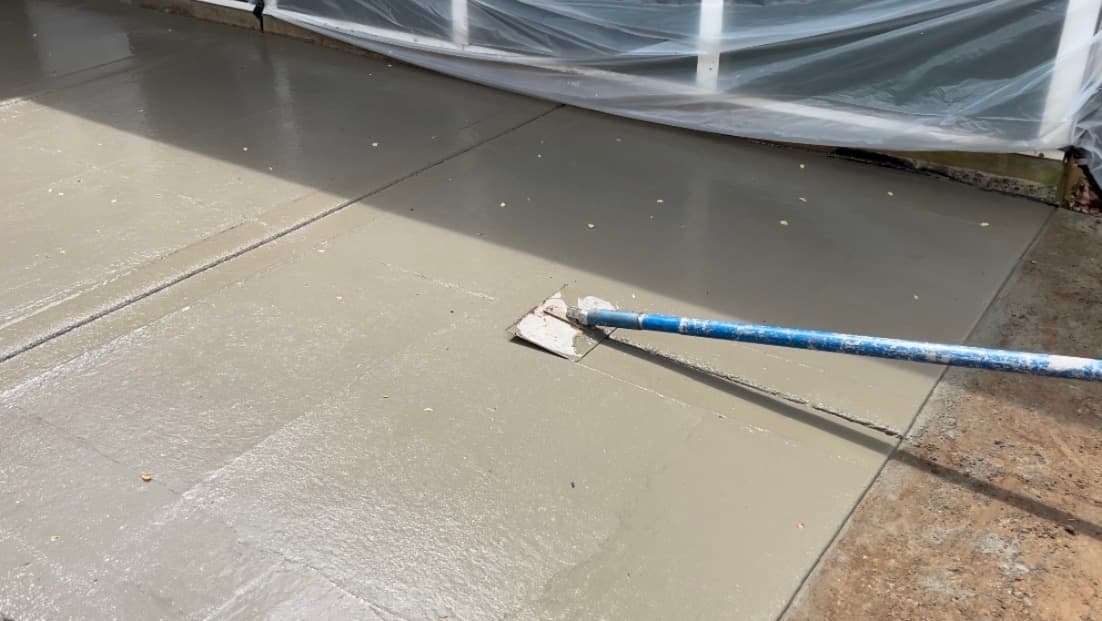
Edging & Jointing
Creating rounded edges for durability and cutting control joints to manage expansion.
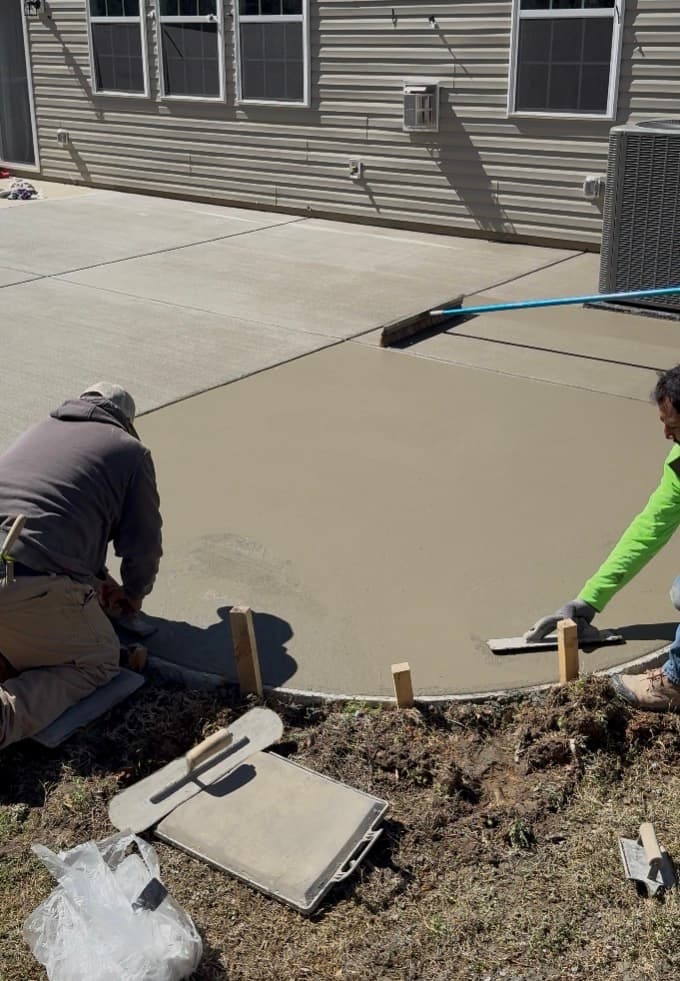
Fresno Finish
Final smoothing pass to close the surface pores and prepare for texturing.
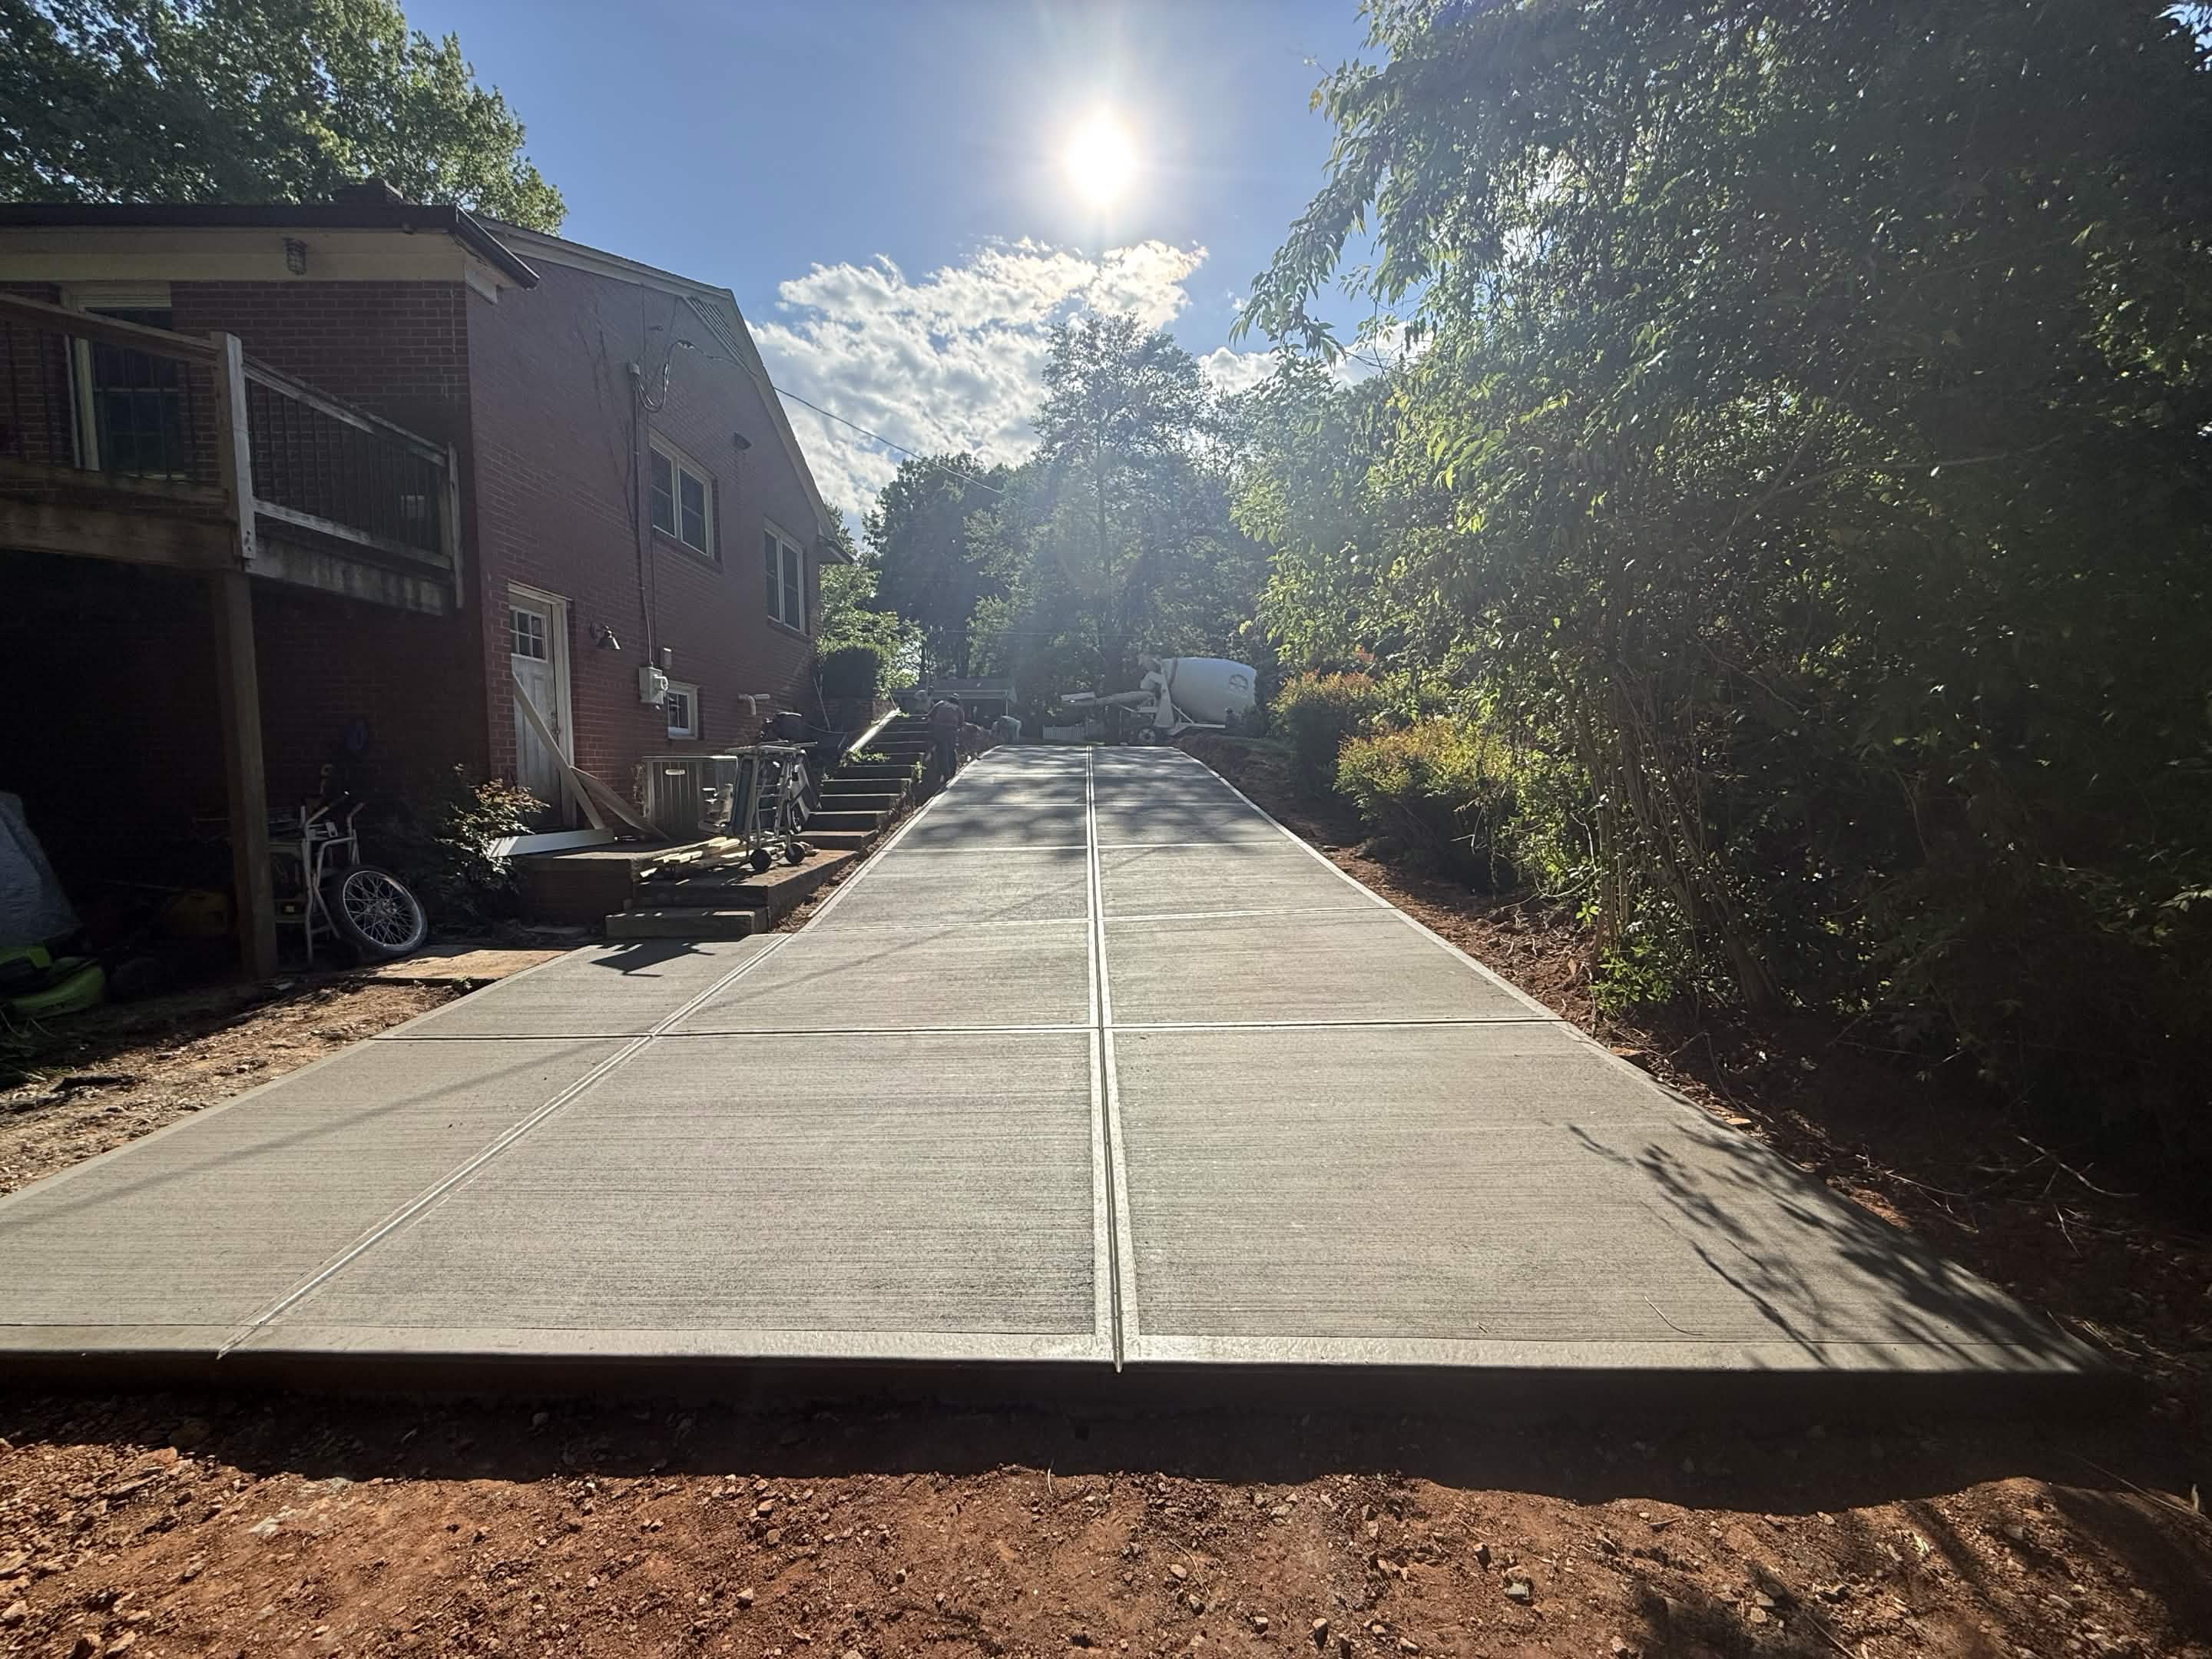
Decorative Detailing
Applying final broom texture, stamp patterns, or color treatments as specified for your project.
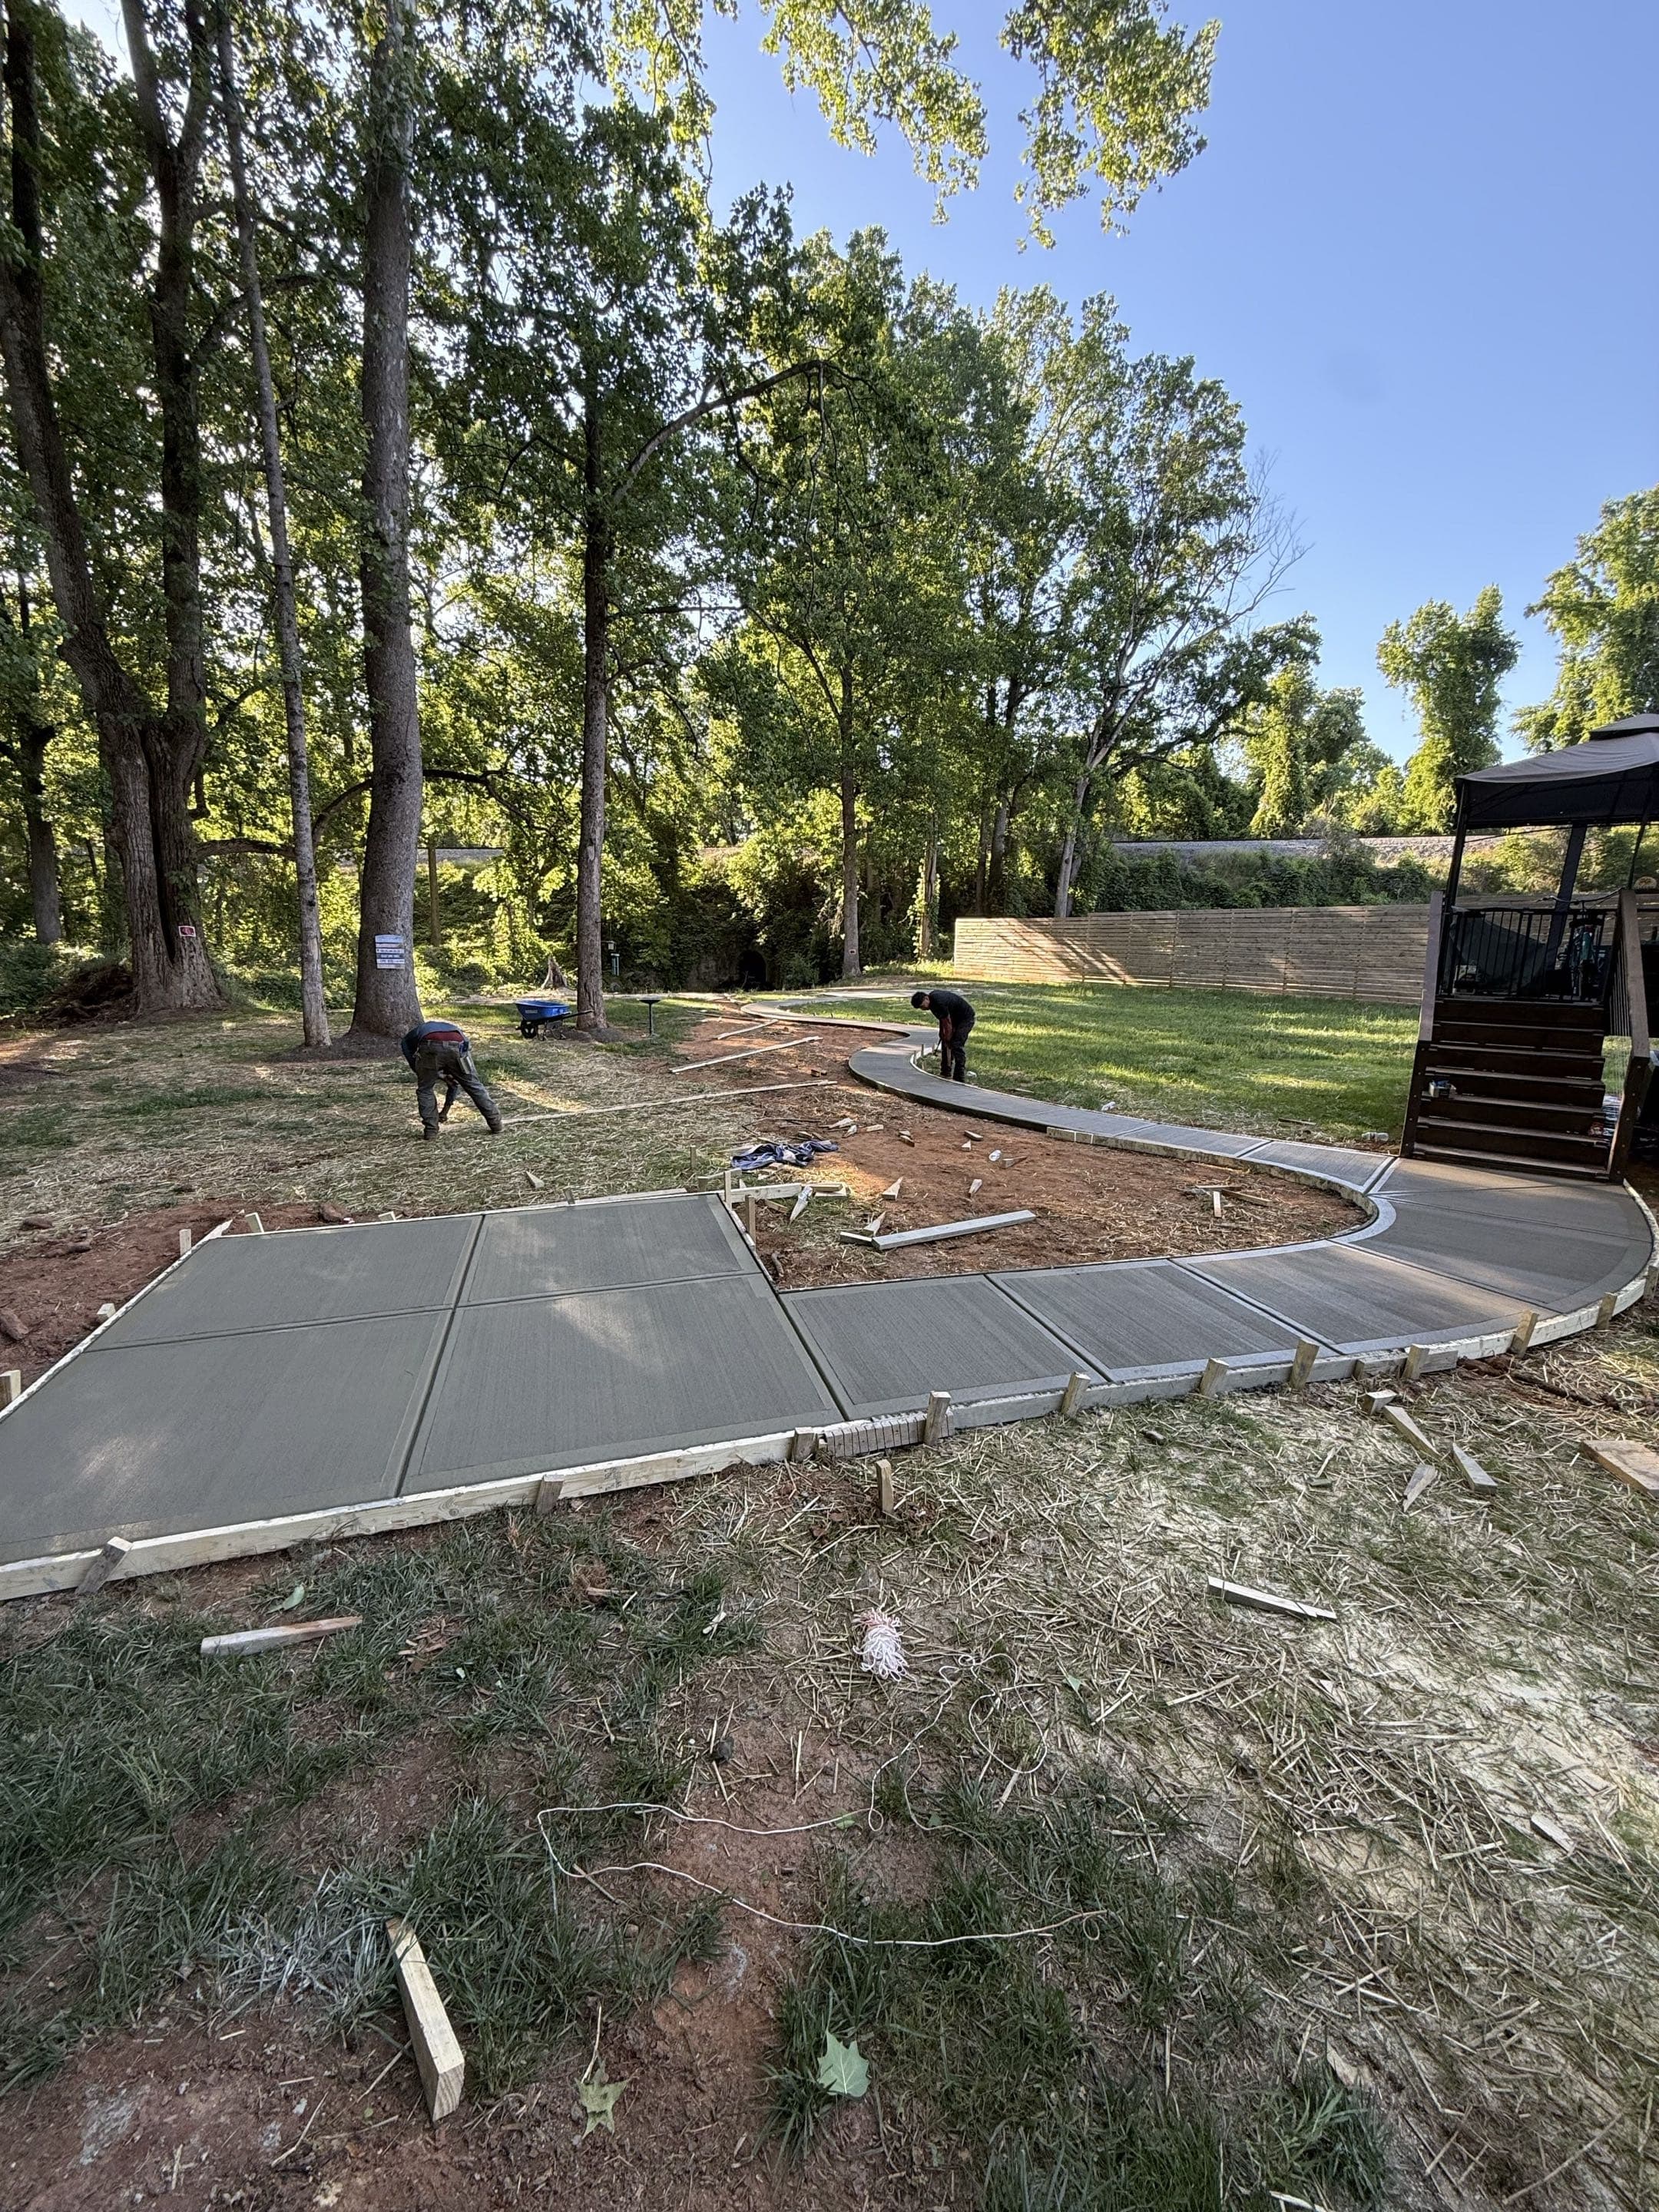
Form Removal
Careful stripping of forms once concrete has reached initial set stability.
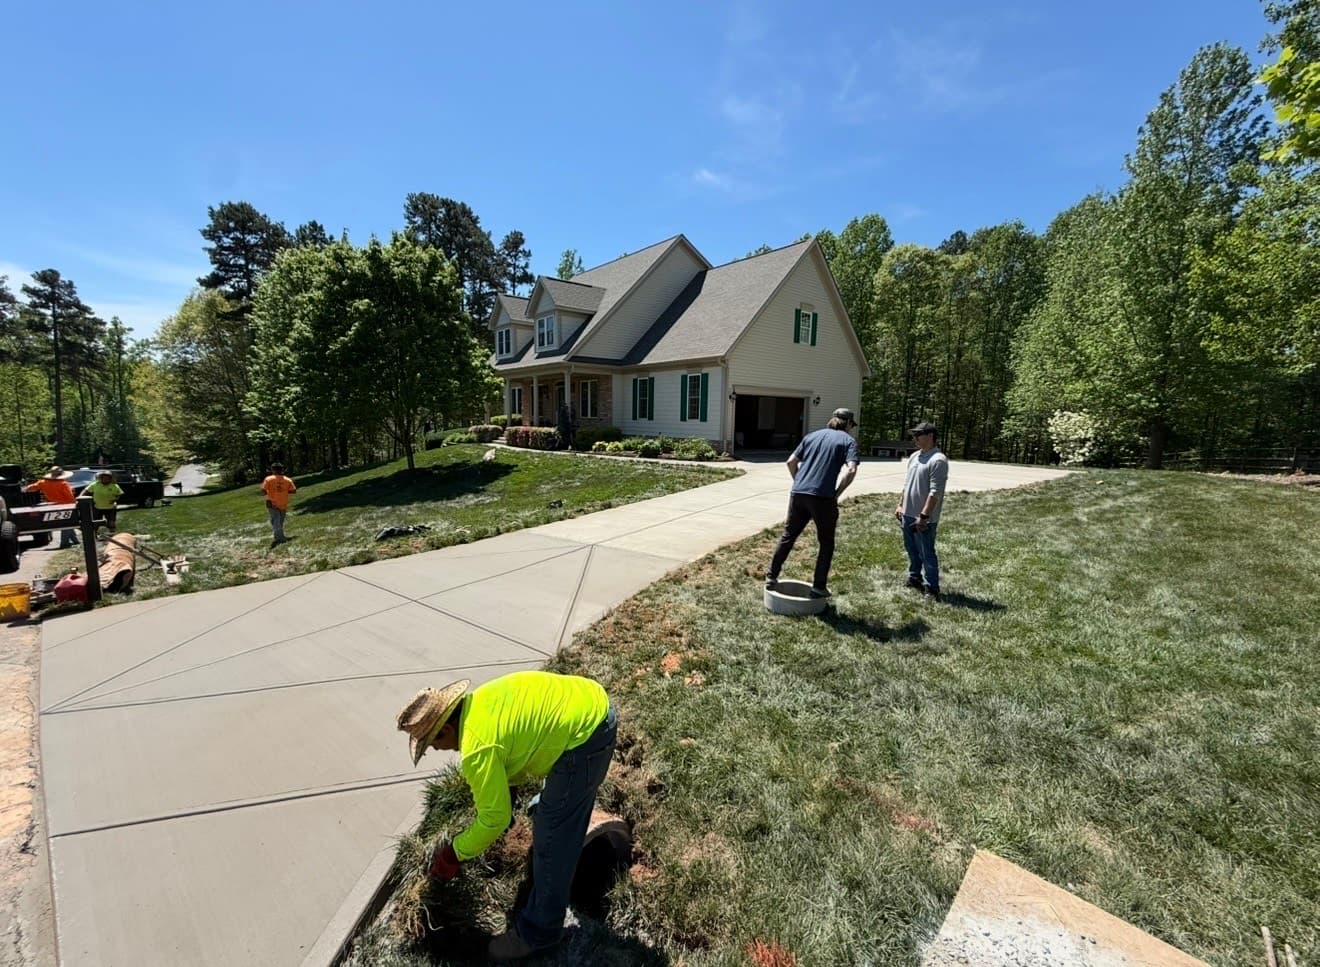
Final Walkthrough
Reviewing the finished project with you to ensure every detail meets the standard.

Usage Guide
Providing clear instructions on cure times — when you can walk, drive, and park on your new concrete.
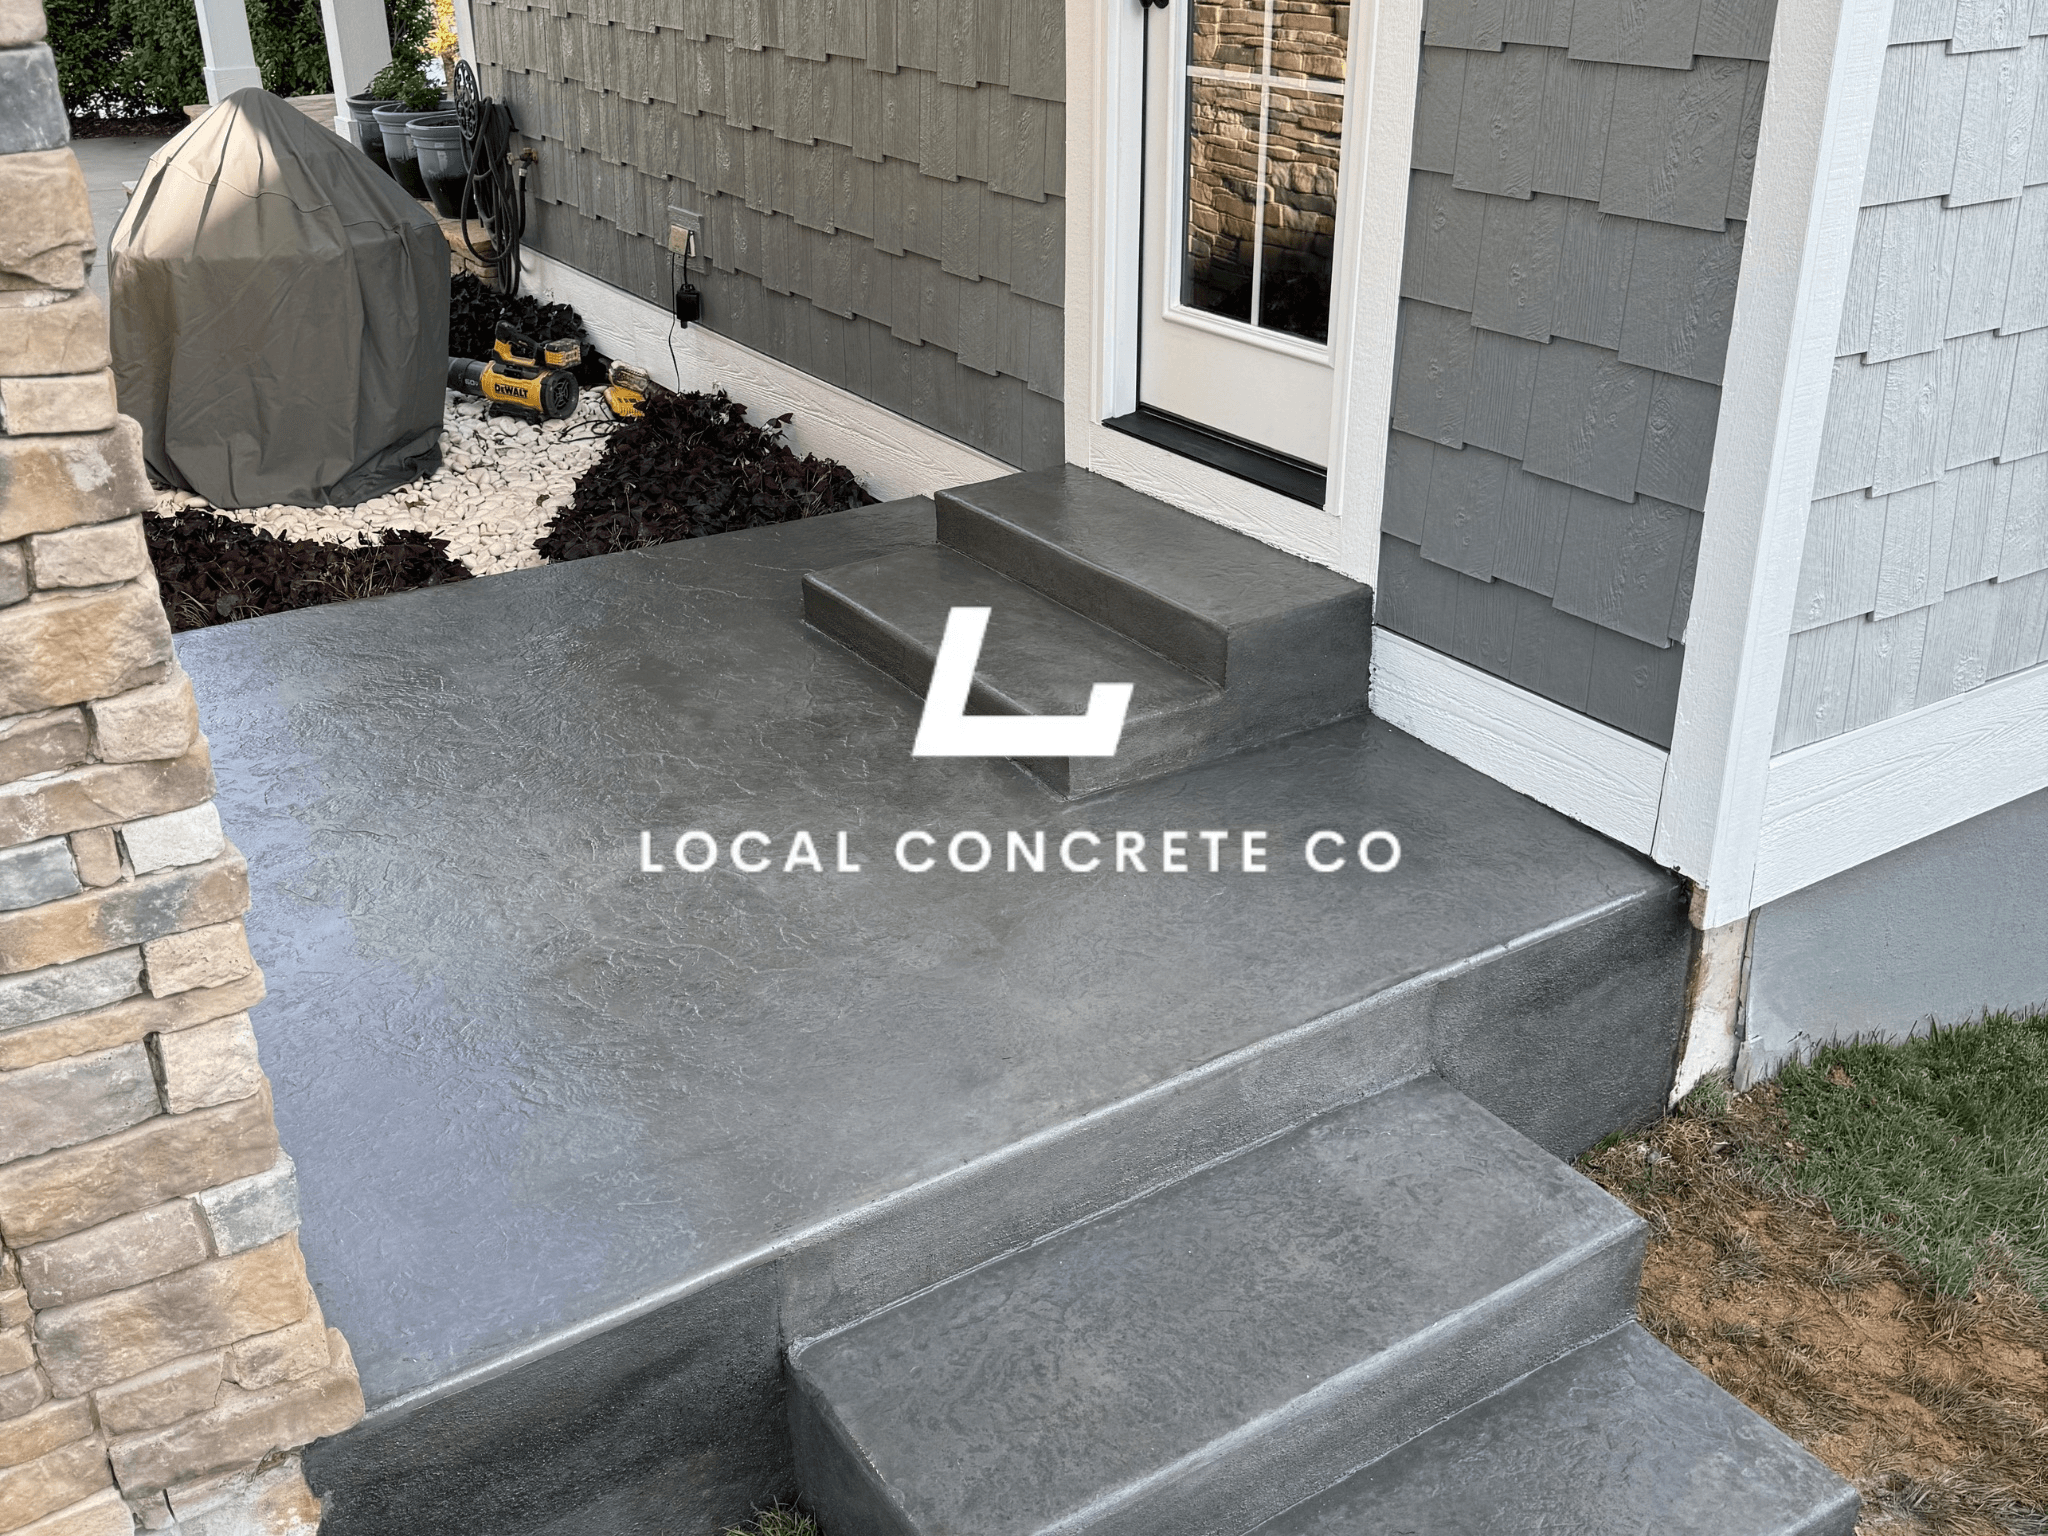
Project Completion
The job is done right, ensuring you have a durable surface for years to come.
Hoop Footings, Anchor Detail, and Why They Are a Separate Pour
The detail that separates a court built to last from a court that will crack at the hoop within a season is how the hoop footing gets integrated into the slab.
In-ground basketball hoops (Goalrilla, Goalsetter, Ryval, Silverback and equivalents) require a 4×4-foot to 4×5-foot footing that goes 48 inches deep (below frost line for anywhere in NC) with a J-bolt or anchor-plate system cast in concrete. The footing must be poured as a separate concrete column with an isolation joint between the footing and the surrounding slab — never monolithic with the slab. The hoop footing moves independently as the ground shifts through wet and dry seasons; tying it rigidly to the slab guarantees a crack radiating out from the footing within one or two winters.
The correct sequence is: dig and pour the hoop footing first with the anchor bolts set to the manufacturer's exact template, let it cure for the manufacturer-specified minimum (typically 48-72 hours), then pour the surrounding slab with a 1/2-inch closed-cell foam isolation strip around the entire footing perimeter and a sawcut or tooled control joint radiating out to the nearest slab edge. Portable hoops that don't need a footing are simpler — the slab just has to be thick enough (5-inch minimum) to handle the concentrated wheel load and any hoop-tipping stress.
Finish, Surfacing Options, and Timeline
You have three real finish options for a residential basketball court, each with its own slab handoff.
Broom-finish concrete — the slab itself is the finished surface. Broom texture perpendicular to primary play direction, cure and seal after 28 days, ready to paint lines with acrylic court paint. Cheapest finish, most durable, warmest under summer sun. Best for casual driveway-style courts.
Acrylic color coat — same broom slab, then after 28-day cure and moisture test the slab gets 2-3 coats of pigmented acrylic (Deco Color, Nova Court, Plexipave, or equivalent), lines striped in white, sealed with a clear topcoat. Standard for real-play backyard courts. Slab must pass the same moisture test as pickleball courts (below 3 lbs / 1000 SF / 24 hours calcium-chloride or below 75% RH in-situ) before coating.
Modular sport tile (SnapSports, VersaCourt, Sport Court, and equivalents) — same slab as broom-finish but skip the acrylic coating. Interlocking polypropylene or PVC tiles snap over the cured slab with a small drainage gap underneath, install in 1-2 days, replaceable tile-by-tile if a section fails. Warmer summer feel and softer joint impact than bare concrete, more expensive than acrylic.
Slab timeline: 1 day layout and dig, 1-2 days base build, 1 day hoop-footing pour, 2-3 days hoop cure, 1 day slab form and reinforcement set with inspection, 1 day slab pour and finish, then 28 days cure before any acrylic surfacing. Slab-only project window is 7-10 working days plus cure. Full turnkey installation (slab + surfacing + hoop + lines) runs 4-8 weeks depending on surfacing choice and crew availability.
Why Homeowners, HOAs, and Rec Facilities Work With Us
Local Concrete Contractor pours residential and light commercial concrete across the entire state — backyard hoop pads, backyard half courts, HOA amenity courts, church rec pads, private-club builds, multi-court community centers. Every court we pour comes with the same commitments regardless of scope.
Zero deposit. Payment is due on completion, once the slab passes visual inspection and the hoop footing is anchored to the manufacturer's spec.
Written spec before demo. Pad dimensions, slope direction and rate, base build, thickness, reinforcement type and spacing, joint pattern, hoop-footing detail, isolation joint plan, and mix design are all on the sheet before the excavator arrives.
Coordination with your hoop system. We work from the exact anchor template for whatever in-ground hoop system you've selected — Goalrilla, Goalsetter, Ryval, Silverback, or a commercial-grade unit. If you're using a portable, we spec the slab thickness for portable hoop loads. If you haven't selected a hoop yet, we can name residential and commercial systems we've poured for.
Licensed and insured statewide. NC general contractor coverage plus product liability, workers comp on every crew member, and site cleanup included — no surprise disposal or cleanup fee line items after the pour.
Basketball Court
FAQ
Straight answers on basketball court installation — thickness, base prep, cure time, deposit, and what it takes to make the slab last.
Get Free QuoteHow big does a backyard basketball court need to be?
Three real sizes for backyard courts. A hoop pad at 30×30 (900 SF) gives you room for a hoop plus a solid free-throw area. A backyard half court at 30×50 (1,500 SF) fits a painted key and a three-point line and plays like a real half court. A regulation-style half court at 50×47 (2,350 SF) matches full NBA half-court dimensions with the full three-point arc. If you have room, 50×50 is the sweet spot for a real-play backyard court. Anything smaller than 30×30 is more of a driveway hoop than a court.
What does a concrete basketball court cost in North Carolina?
How thick does the slab need to be for a basketball court?
Should the hoop footing be poured with the slab or separately?
Can I convert my existing driveway into a basketball court?
What direction should a court face for playing?
Ready to talk about your project?
Free estimate. No pressure, no sales tactics. Zero deposit.
Get Free Quote